

When deer hunting, look for three main topographical features to help with stand placement:
- Saddles (low points between ridges where deer often travel between drainages)
- Benches (flat or sloping terraces on steep hillsides where deer like to bed down)
- Pinch points (narrow land features that funnel deer movement through a specific corridor)
HuntWise topographic map overlays contour lines on satellite imagery, letting you identify all three features without scouting them in person. First, open HuntWise and enable the topo overlay, then zoom into your intended hunting zone in hybrid view. Focus on contour indications such as the hourglass shape of a saddle, wider-spaced lines of mid-range bench, and narrow high-ground corridors, particularly near water sources, drainages, or property edges, to uncover pinch points.
By knowing how to read topo maps for deer hunting, you can narrow down your scouting and prepare promising stand locations for more productive hunts.
What Topo Maps Show (and the 3 Features That Actually Matter for Stand Placement)
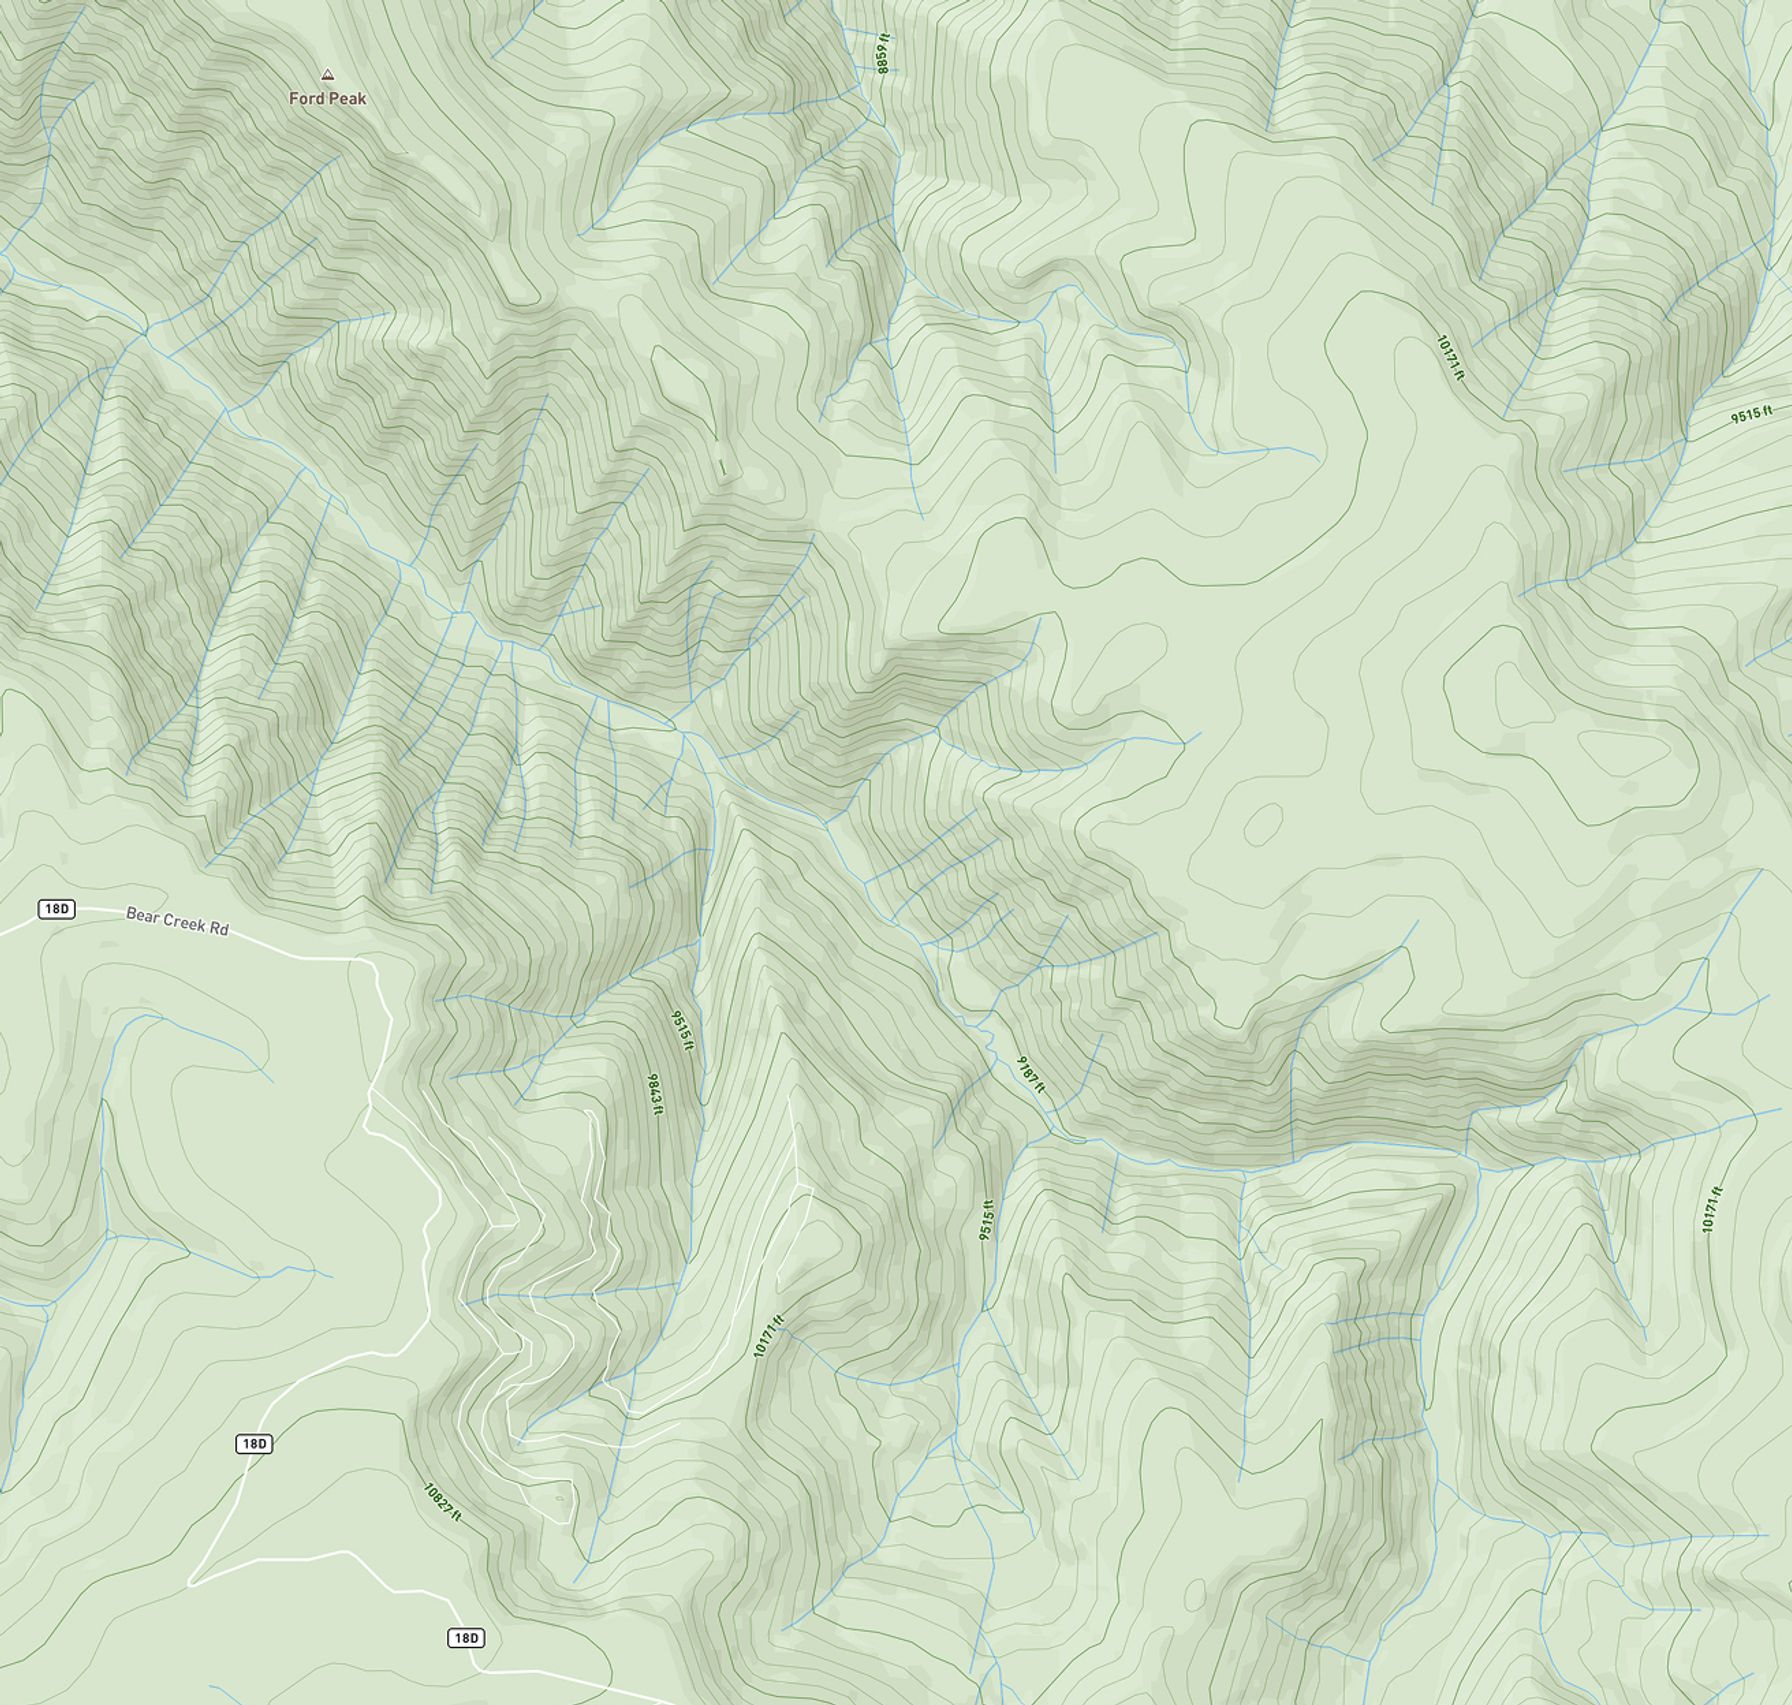
Understanding topographical maps and how to use them can help you visualize three-dimensional terrain from a flat map. Contour lines connect points on a map that share the same elevation. When the lines are close together, they indicate steep terrain because elevation is changing rapidly over a short distance.
As the lines spread farther apart, the elevation changes more gradually, indicating a gentler slope. With these lines and a bit of practice, you can spot terrain features on a topo map; for example, flatter, wider contours with more densely packed contours on either side forming a V shape typically indicate a valley.
You can see contour lines on traditional printed maps or using digital mapping tools. Whichever option you choose, contours serve the same purpose. If you've never used a hunting app before, a simple beginner's hunting app guide can help you start exploring hunting zones in greater depth. Many tools now offer additional overlays and features to simplify the process.
When deer hunting, focus on three main terrain shapes: saddles, benches, and pinch points. With the HuntWise topo overlay on satellite imagery, you can scout all three from the comfort of your own home and see what they look like on the landscape. If you're new to hunting or reading topographical maps, using contour lines over a 3-D terrain model or satellite imagery is a great way to visualize what different landforms look like in real life.
While this information can inform your hunting plan, nothing beats burning boot leather and exploring the terrain for in-field confirmation. Once you've marked your features, walk your hunt area to form a clearer picture of the terrain, including access routes, cover, bedding, food, and water sources, to refine your approach.
How to Read Topo Maps for Deer Hunting
Reading topographic maps is a great way to level up your deer hunting. Understanding how deer use elevation to move through a landscape is one of the most important things a hunter can use to get more deer on the ground.
Using HuntWise’s Topo + Satellite layer is a great way to both learn how to read topographic maps for deer hunting and correlate them to good deer habitat.
- Open HuntWise and navigate to the property you intend to hunt. Then, enable topo + satellite hybrid view from the layers menu.
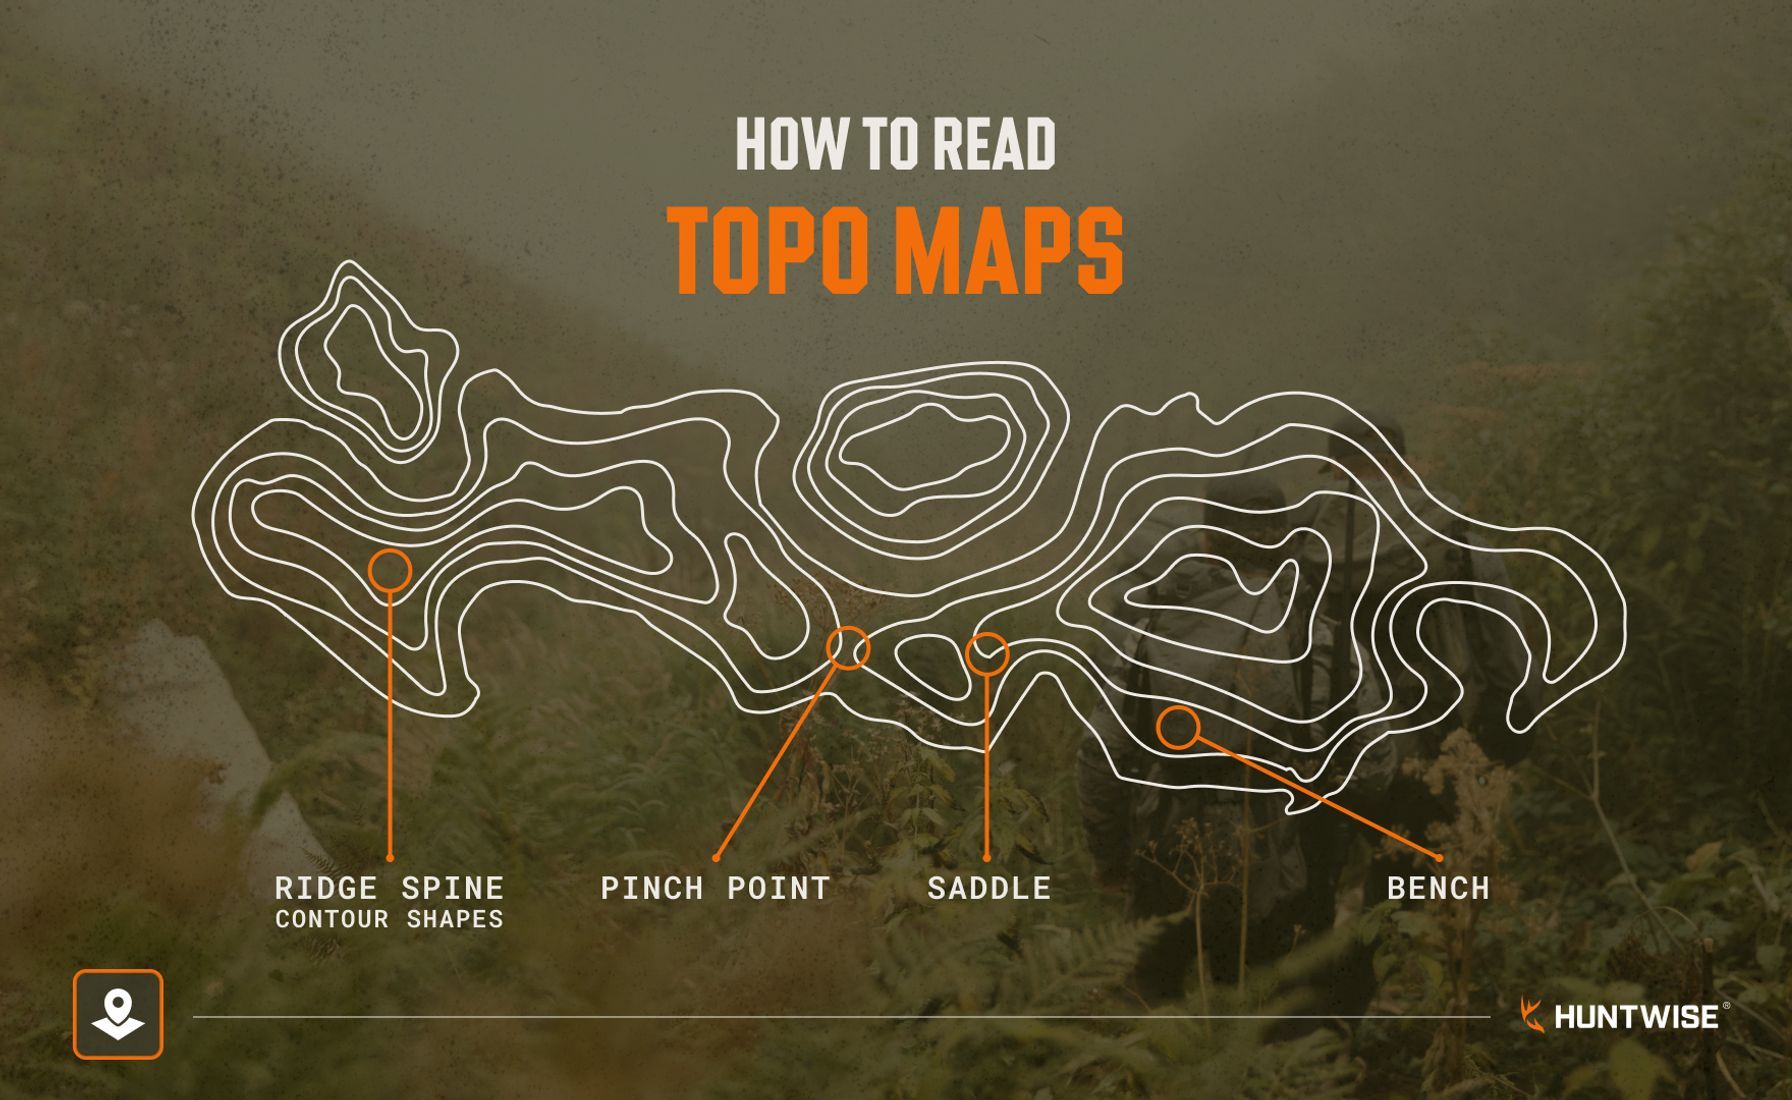
- Look for ridgelines on the map. They will appear as elongated convex contour patterns. Deer like to use the spines of these ridges to both bed and travel. The tops of ridges are also great spots for long-distance observation sits. Be aware that being on a ridge can affect the wind and thermals.
- Find saddles. Saddles will appear on the topo map as an hourglass or figure-eight shape. This happens when two ridges meet at a low point. Saddles are the primary travel route between drainages for deer. Personally, I like locating and hunting saddles because, in these lower areas, your wind can become more predictable.
- Find benches. Look for sections of contour lines that are widely spaced after a sequence of steep terrain. This is a flat spot on the side of a hill and a favorite location for deer to bed. These are great areas to scout and locate deer. Typically, hunting their travel routes from food back to the benches where they bed can yield the most success.
- Find pinch points. To locate a pinch point, look for the high ground that splits between two low features. The low features could be water and creek bottoms, field edges, or other features that funnel deer movement. Pinch points are my personal favorite for hunting during the rut. When bucks chase does, these natural features often force deer to run through them.
- Mark waypoints in HuntWise. Once you’ve located a few potential stand locations based on the topography you’ve been studying, mark the waypoints in HuntWise. Then, get into the field and confirm that the spots you’ve found have deer season that will produce encounters this fall.
Key Topo Features for Deer Hunting: Identification and Strategy
Learning to read topographic maps for deer hunting takes practice and getting familiar with different terrain features to inform your tactics. For a quick reference, see the table below.
Key Topo Map Features for Deer Hunting | |||
|---|---|---|---|
| Feature | Topo Appearance | Why Deer Use It | Best Hunting Phase |
| Saddle | Hourglass between two high points | Cross-drainage travel corridor | Seeking and peak chasing |
| Bench | Wide spacing mid-steep slope | Bedding (visibility and escape) | Lockdown and early morning |
| Pinch point | Narrow high ground between lows | Forced movement corridor | Peak chasing (all day) |
| Ridge spine | Elongated convex contour pattern | Travel and pre-rut scraping | Pre-rut |
| Creek bottom | Tight lines both sides | Feeding and early-season travel | Early season dusk |
Once you're familiar with how to read topo maps for deer hunting and identify features and contours, you can combine those details to plan better hunts based on the timing and phase of the hunt. After identifying the target feature, you can start looking at stand placement and potential scouting locations that overlook these saddles, benches, and pinch points.
E-Scouting Topo Workflow in HuntWise
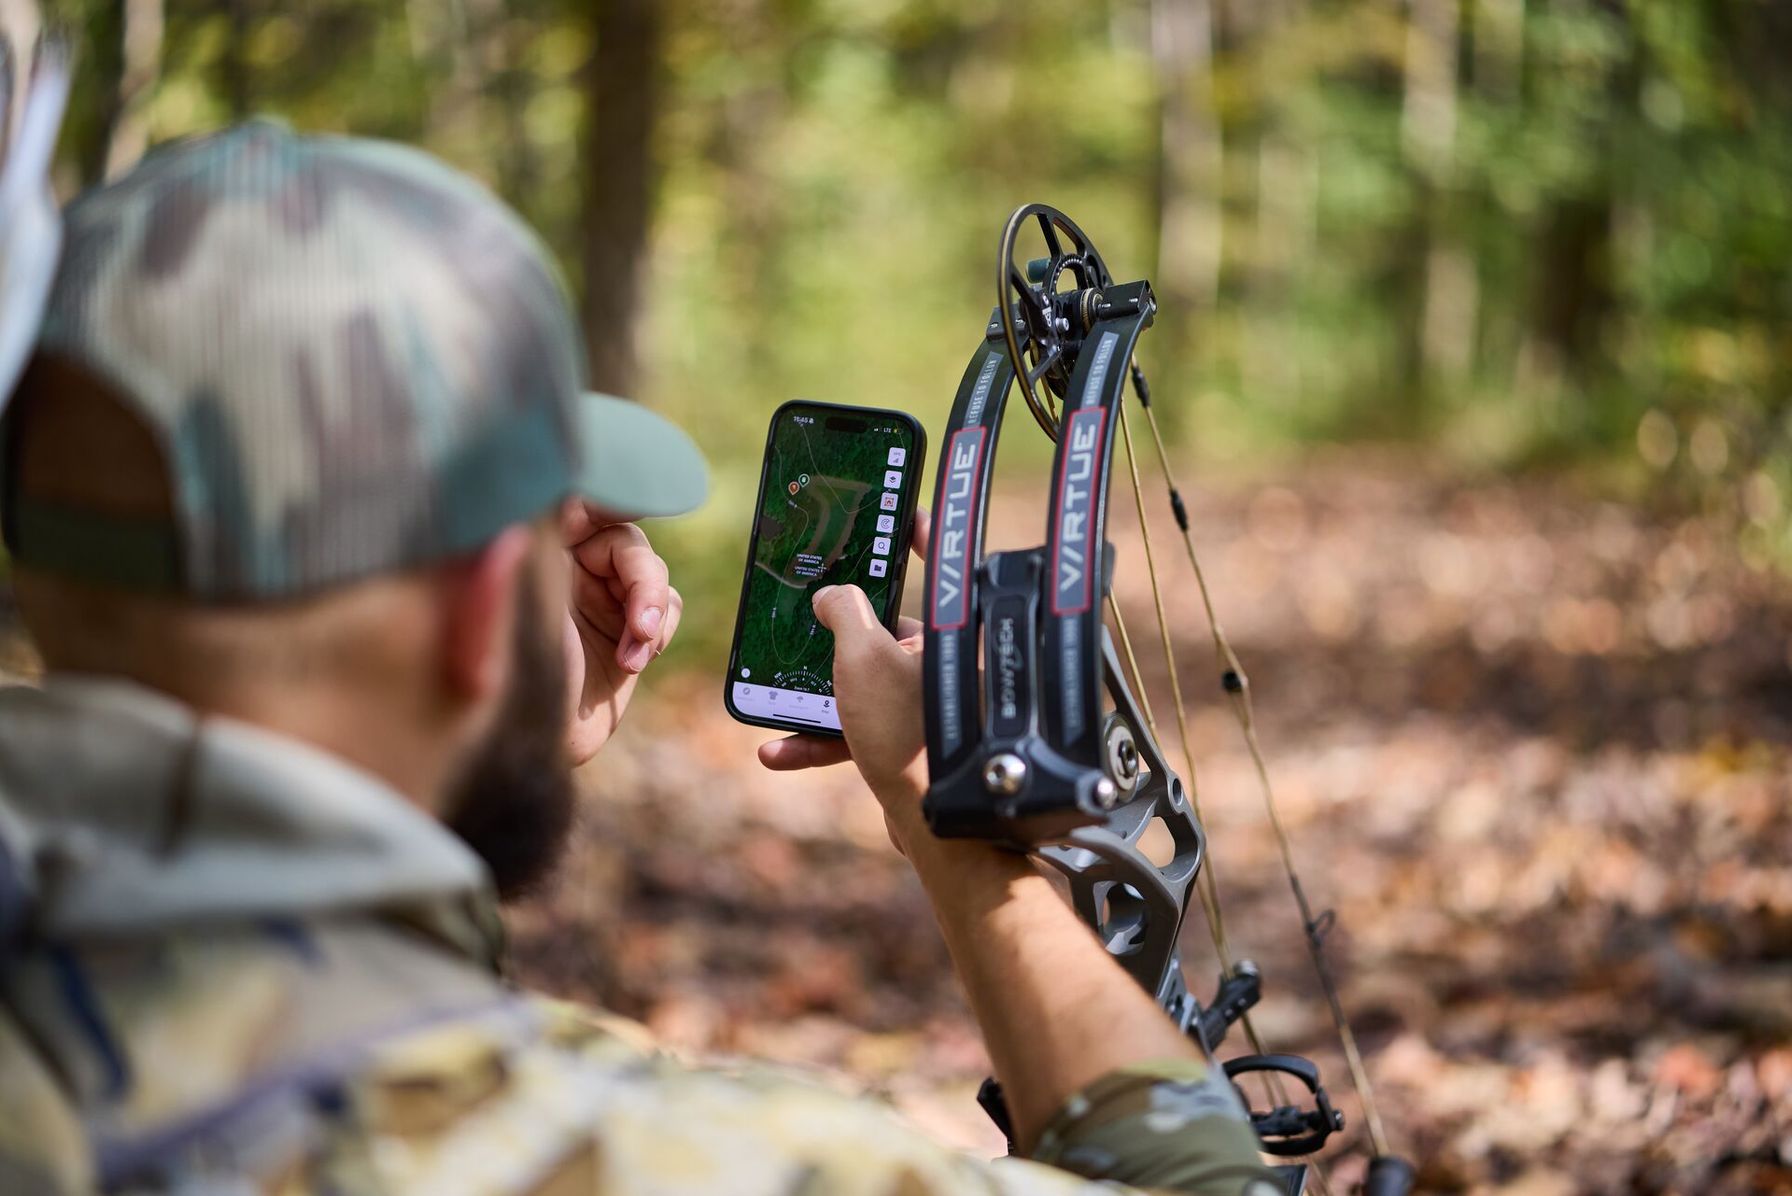
Now that you have a good idea of how to read topography for keying in on deer bedding and travel corridors, let’s discuss how you can use HuntWise and its features to locate those places and narrow down probable stand locations, without ever leaving your couch.
I’ll break down, step by step, how you can turn those raw contour lines into kill sites this fall.
- Open the hybrid view on HuntWise and zoom out so you can see the entire ridge system. This view lets you see both the satellite imagery and the contour lines, adding real-time context to what the contour lines are telling you.
- Identify all saddles on the main ridge. These are the hourglass shapes in the contour lines where those two ridges meet at a low point.
- Mark all mid-range benches on south-facing slopes. These benches will be a favorite bedding location of deer when the weather gets colder.
- Locate pinch points. Especially between water and terrain or other property features. Pinch points are the closest thing to a surefire way to predict where deer will move on a property.
- Cross-reference all these locations with the property line layer to confirm where you have legal access. If any of the spots you deem to be among the best are on property you can’t hunt, search phone records on HuntWise or knock on doors to ask for permission.
- Mark the top three locations you’ve found and make your way into the woods for an in-person visit. You can glean a ton of information from HuntWise, but until you get boots on the ground, you can’t really be sure what you’re getting into.

When you use topography to break down hunting areas like this, you make your scouting more efficient. By understanding the map layers and using them to your advantage, you front-load your decision-making so that when you scout in person, you’re verifying these features and correlating them to deer sign rather than searching for features from scratch.
From Map to Stand: Verifying Terrain Features in Person
Reading topo maps for deer hunting helps you zero in on high-potential hunting areas. Once you’ve identified potential terrain features to explore, also consider deer needs in the area, especially food, water, and cover. In this early e-scouting stage, it can also help to verify land-use features with a hunting app that shows private property lines or state and national forest boundaries.
Getting out in the field is the only reliable way to put your hunting plan into practice. Once you’ve got boots on the ground, look for fresh deer sign such as rub lines, scat, and bedding evidence near marked waypoints. If you’re hunting public land, you’ll also want to use your public land app to scout zones beyond likely high-pressure hunting areas near trailheads, popular car parks, and dense road networks.
If the terrain doesn’t quite match what you’re seeing in the field, or the conditions don’t feel quite right, take another look at your map. Look for similar topographical features (saddles, benches, and pinch points) in your hunting zone and adjust. To refine your e-scouting approach and start planning smarter hunts, enjoy your free HuntWise trial.
Turn Contour Lines Into Confirmed Stand Sites
Knowing how to read a topo map for hunting is a fundamental skill for any hunter. Once you're familiar with how these lines represent elevation changes and terrain features, you can scout more successfully, predict deer movement through travel areas, and establish potential stand sites before you even hit the field.
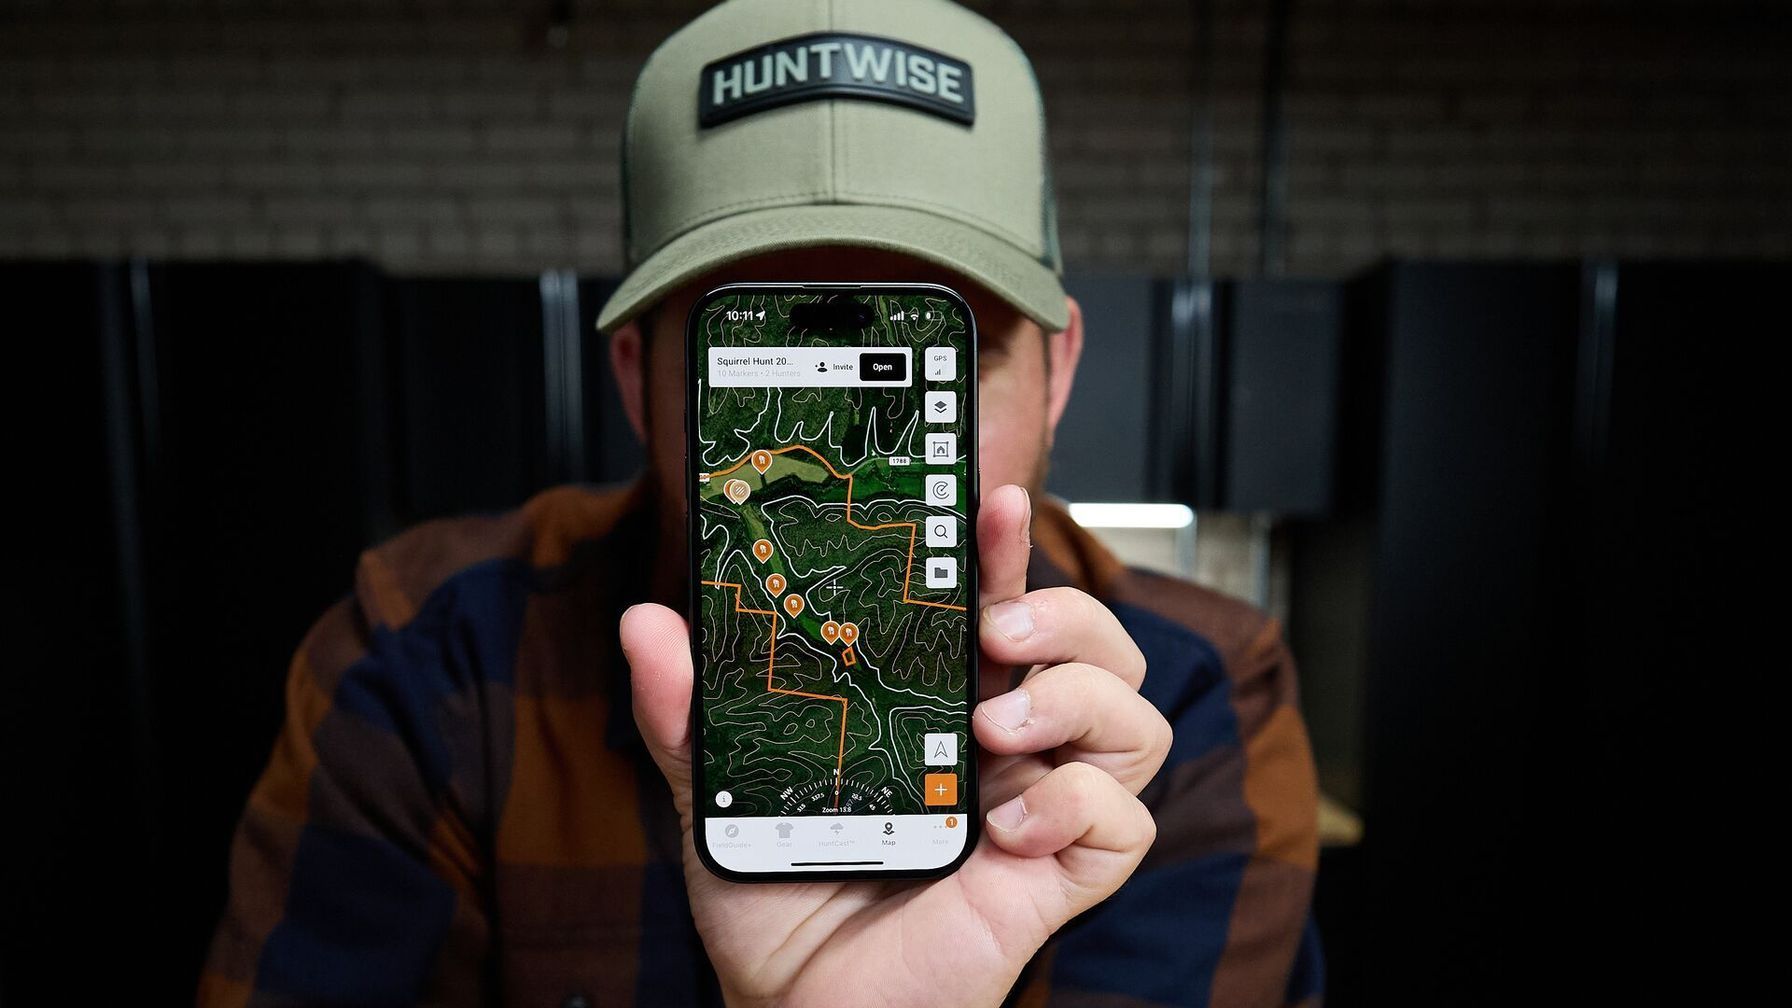
For easier viewing, blend the HuntWise topo and satellite hybrid overlay to turn contours into visual features, creating a preseason habit that will save you time and energy once you're out in the field. The more you practice, the easier it becomes to recognize these terrain features, until they become second nature.
Once you’ve got boots on the ground, you can confirm whether your stand sites will get the job done or hop back into your app to quickly change your approach and target other potential stand sites.
Frequently Asked Questions (FAQs)
Q: What are the most important topo features for deer hunting?
A: For deer hunting, focus on saddles, benches, and pinch points. Saddles are low points between ridges that can concentrate travel, benches are relatively level areas along slopes that can provide bedding habitat, and pinch points are narrow terrain features that funnel deer movement. Ridges also help you understand travel and bedding patterns.
Q: Can I read topo maps in the HuntWise app?
A: Yes. HuntWise offers topo and contour map layers that show elevation changes, ridges, saddles, drainages, and other terrain features. You can also combine topo with satellite imagery to better understand how the terrain looks on the ground.
Q: What does a saddle look like on a topo map?
A: A saddle typically looks like an hourglass or figure-eight shape between two higher areas. It represents a low point connecting two ridges, often providing a natural route between drainages.
Q: How do I tell a bench from flat ground on a topo map?
A: A bench appears as a relatively flat or gently sloping section partway up a hillside, usually where contour lines become more widely spaced between steeper terrain. Flat ground can also have widely spaced contours, but a bench is identifiable by its position along a slope rather than on broadly level terrain.
Q: Should I e-scout with topo before or after scouting in person?
A: Use topo before scouting in person to narrow down areas worth investigating. Mark potential saddles, benches, pinch points, and access routes, then visit those locations to confirm the terrain and look for deer sign. Mapping can make in-person scouting more efficient, but doesn’t replace it.
Q: How close together do contour lines need to be to signal a huntable pinch point?
A: There isn't a specific contour-line spacing that automatically makes a pinch point. Close contour lines indicate steep terrain, but a pinch point depends on how the terrain narrows or funnels movement, such as high ground between two low areas. Look at the overall contour pattern rather than relying on a particular distance between lines.
Q: Does reading topo maps in HuntWise require a paid subscription?
A: Not necessarily. HuntWise provides free access to some mapping features, while paid subscriptions add additional mapping tools and layers. Some advanced features, such as 3-D mapping and additional layers, require paid plans.


