Field Guide / Hunting Tips
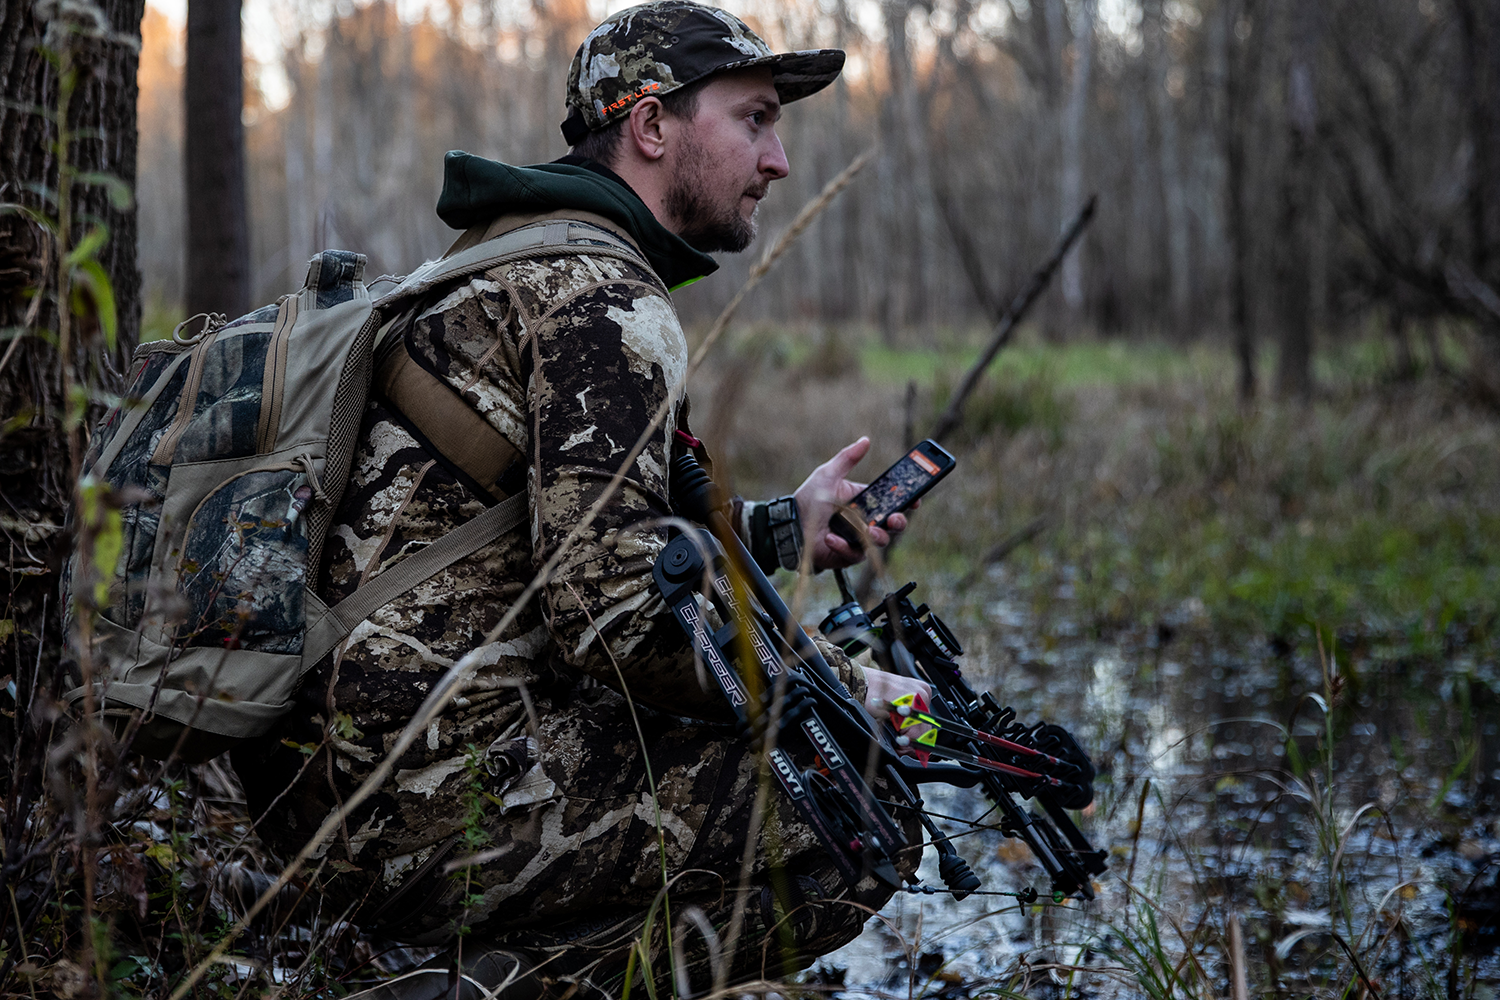
10 Photography Tips for Hunting Influencers
Creating visually engaging images has always been the end goal of a photographer. With the rise of social media platforms, engaging user-created content is more important than ever.
2. Set the Exposure
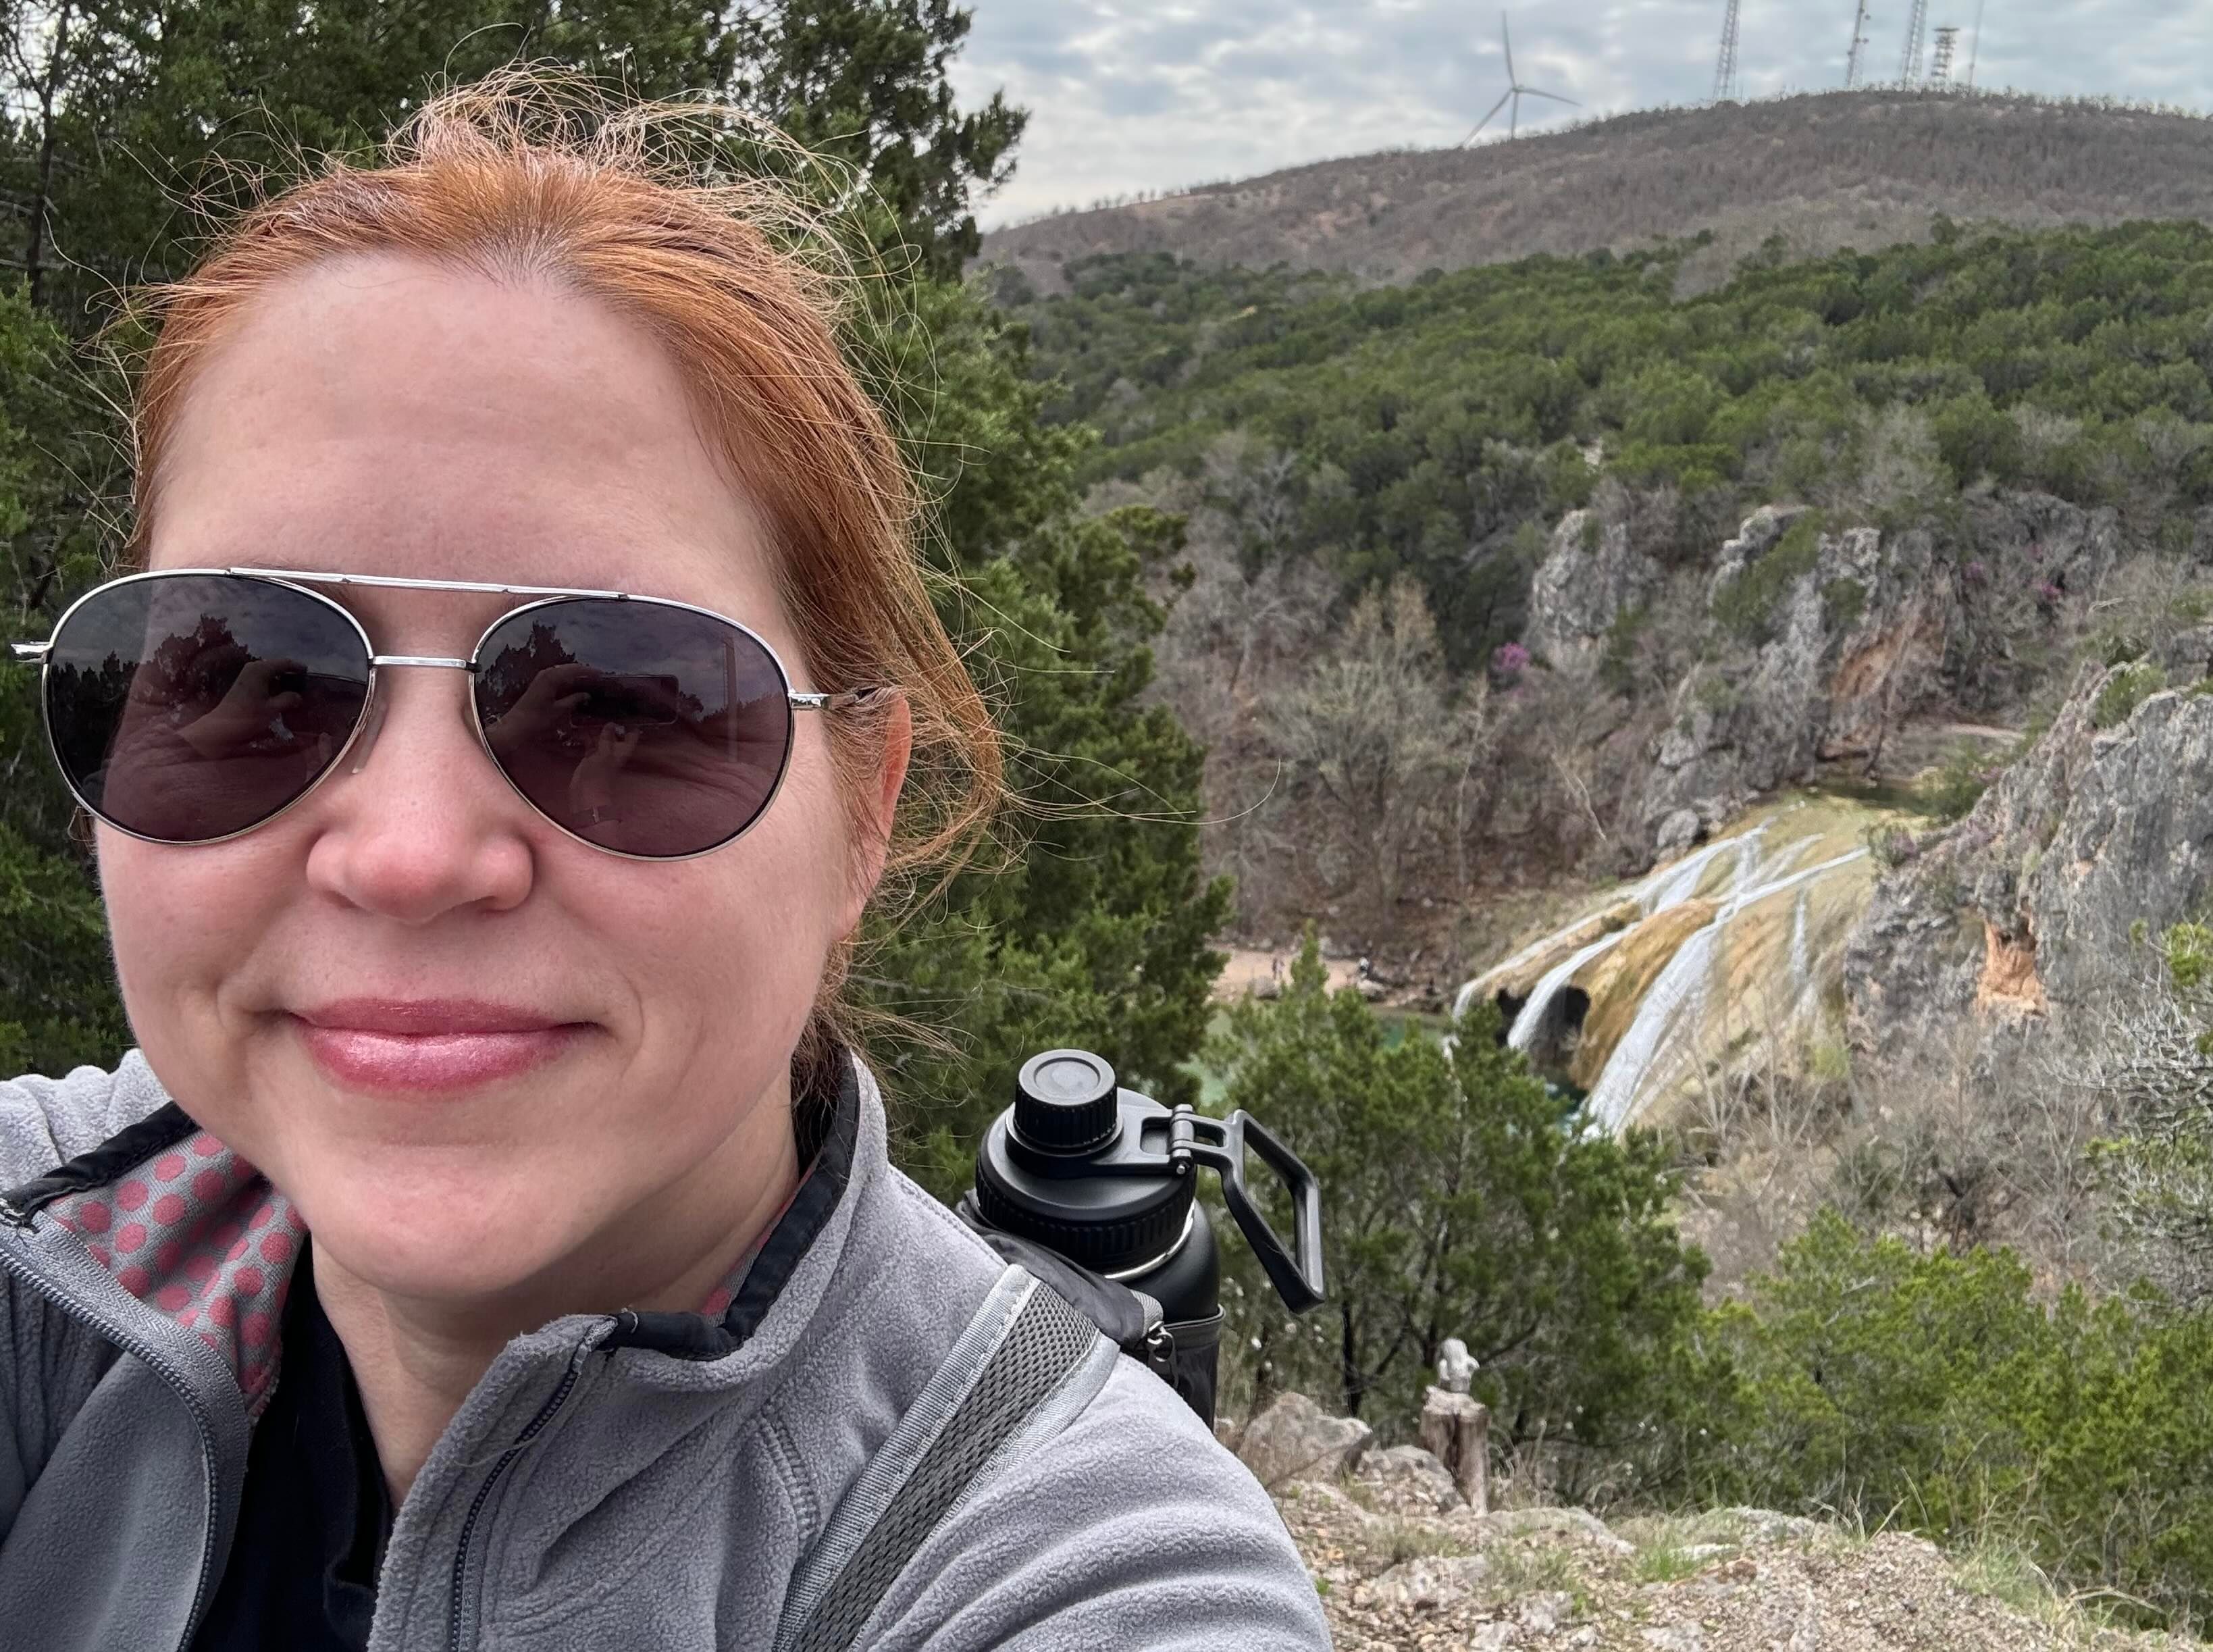
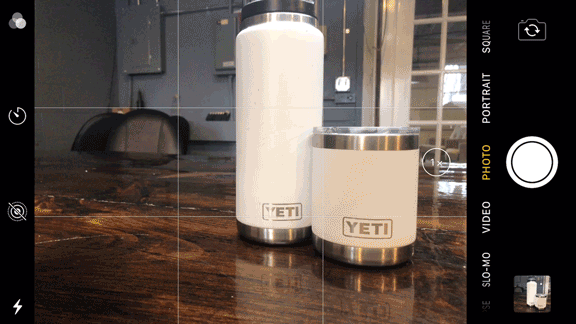
Believe it or not, Apple has built some really great tools into its camera app. There is more to it than pointing and taking an image: You can set manual exposures, tap to focus, and even lock your focus at a certain point.
The first thing to do is tap and focus on your subject; by tapping the screen, a square automatically sets your focus and exposure. In a good scenario, Apple's software nails it, giving you a well-balanced image.
However, we all know that the lighting can be off sometimes. There are no perfect scenarios in photography. So, let's take variables into our own hands and set custom exposures within the Apple software.
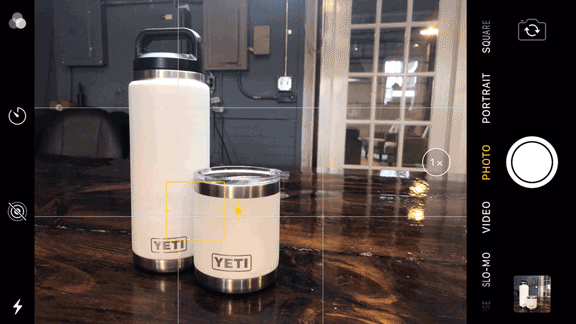
Instead of tapping the screen, tap and hold. This will lock the focus at a particular range.
- First, an AE/AF lock notice will appear at the top of the camera view.
- Once it is locked, drag your finger from top to bottom next to the box. You will notice a slider will move, and that is how you know you can begin adjusting exposure to the shot.
And just like that, you have set perfect exposures for whatever scenario comes your way outdoors.
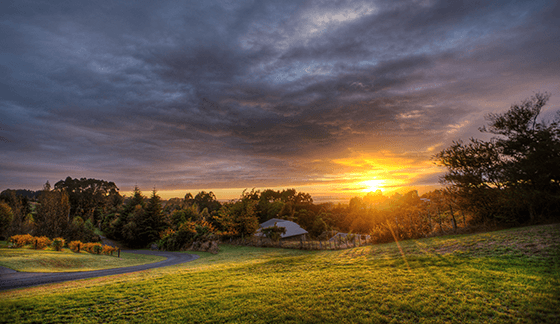
4. Experiment With HDR
Now, this can improve your images drastically or very poorly.
HDR is an acronym for High Dynamic Range. This technique takes multiple images and layers them on top of each other to get a more balanced exposure.
At its simplest, dynamic range just means the difference between an image's lightest and darkest parts. This mode is not good for shooting action shots because the camera needs time to process multiple images, but it would be more appropriate for a landscape shot.
HDR mode is the default when using the most recent iPhone models, so you're ready to take your shots using this feature. However, you can disable HDR by navigating to Settings > Camera, then Record Video, and sliding the HDR Video toggle off.
5. Clean the Lens
Where is your phone most of the time while in the field? It's probably in your pocket.
What else is in your pocket? Dirt, lint, and other gross stuff you'll collect while walking in the woods or a field during a hunt.
So, before photographing wildlife, clean that lens – unless you are going for dirt spots, fingerprints, and other things in your image. Take a microfiber cloth with you into the field and use it to wipe off the lens of your phone or digital camera.
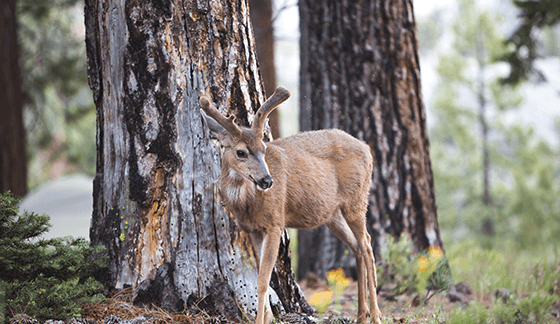
6. Snap Shots Quickly
This is a simple tip. However, many people overlook it, assuming they won't get high-quality photos with this technique.
When your target moves into your line of sight, start shooting photos. Try to follow the framing pointers we mentioned earlier, but don't spend too much time positioning an animal in the frame. They'll likely move on before you can get your shot!
Then, instead of waiting and hoping you captured that one amazing photo with just one camera click, snap many images quickly. This helps speed up the time it takes to capture a shot, avoid potentially missing that great shot, and allows you to select the perfect shot you were looking for later when you're back at hunting camp or home.
7. Use Leading Lines and Mergers
Using leading lines is a great technique for capturing someone's attention and allowing them to draw their eyes across the image.
Lead lines can add depth to your image, so look for artificial objects such as roads, buildings, and bridges. These features can add variation and direction to the image. Natural objects such as rivers and shorelines have the same effect as well.
Pay close attention to these elements, however. When used improperly, they can create merging lines with your subjects and other unwanted side effects.
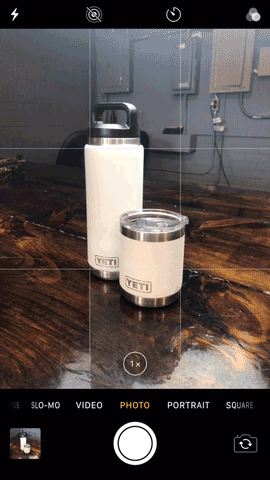
8. Use the Right Lens for the Right Job
The latest iPhones have a dual camera system for sharper images and different photography scenarios. This system allows you to switch between a wide-angle or a telephoto lens, which can increase image quality depending on the shot.
If you are shooting a wider shot, use the wide angle. Then, what about when you shoot a photo of something further away? Use the telephoto.
To switch, find the "1x" button above the shutter button within the camera app. Tap it to change it to telephoto (labeled 2X), then tap it again to return to a wide angle. Wide angle is the default.
Now, you may be wondering why you should switch the lens at all when you could just pinch and zoom to get closer to your subject. Well, the golden rule for smartphone photos is never to use the pinch-to-zoom feature unless necessary (aka digital zoom).
The best zoom is your feet or getting closer to your subject physically. When you use digital zoom, computer software zooms, not the lens, so you lose massive image quality. So the image may not be as clear.
Previous in Hunting Tips
More Content Like This
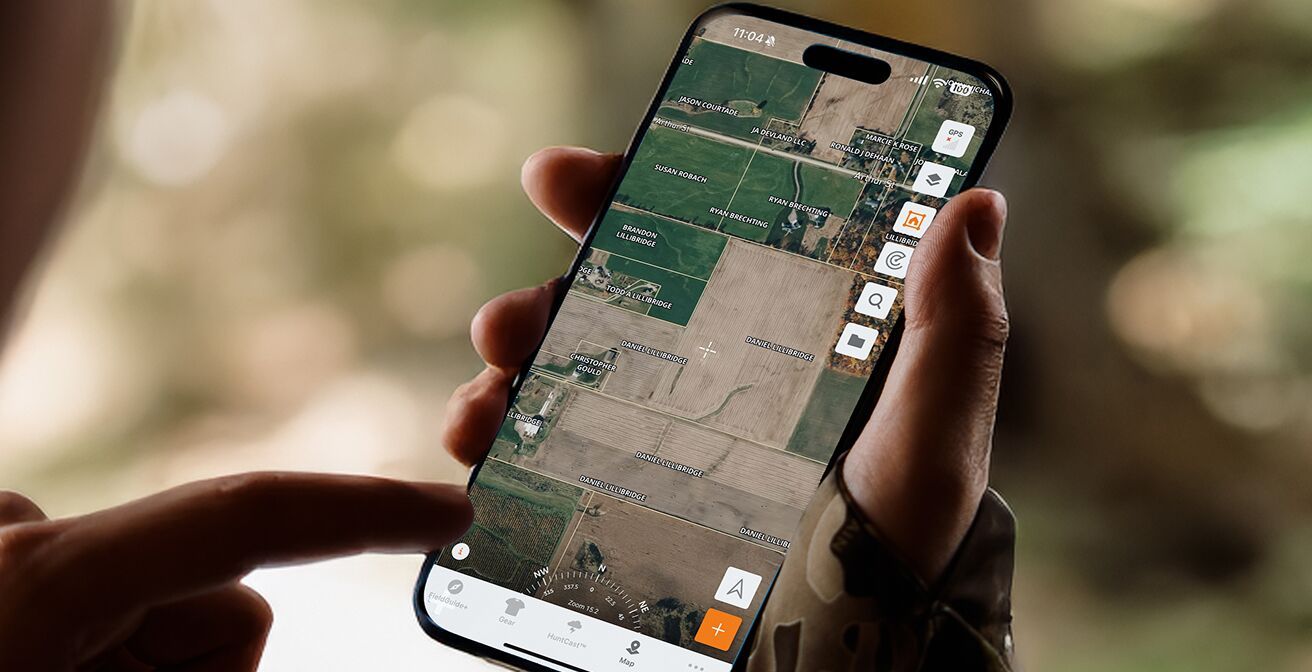
Why You Need a Hunting App with Property Lines
Hunting apps can take the guesswork out of hunt planning and improve your strategy in the field. Before you hunt, it's essential to know where you can legally pursue wild game. Read More
Read More
The Year-Round Hunter in May: How to Hunt Turkey in the Spring
Spring turkey hunting in May starts with locating roosted birds, setting up before sunrise, and using simple, realistic calls. The best time to hunt is early morning and mid-morning after fly-down, when gobblers are most active and responsive. Stayin...Read More
Read More
3 Types of Land to Consider When Scouting for Deer
We all want to kill mature bucks. Whether we've harvested a nice 12-point before or have yet to see one, the thought is always there every single season of a "dream" harvest. Read More
Read More- Hunting Tips
Why You Need a Hunting App with Property Lines
Hunting apps can take the guesswork out of hunt planning and improve your strategy in the field. Before you hunt, it's essential to know where you can legally pursue wild game. Read More
Read More - Hunting Tips
The Year-Round Hunter in May: How to Hunt Turkey in the Spring
Spring turkey hunting in May starts with locating roosted birds, setting up before sunrise, and using simple, realistic calls. The best time to hunt is early morning and mid-morning after fly-down, when gobblers are most active and responsive. Stayin...Read More
Read More - Hunting Tips
3 Types of Land to Consider When Scouting for Deer
We all want to kill mature bucks. Whether we've harvested a nice 12-point before or have yet to see one, the thought is always there every single season of a "dream" harvest. Read More
Read More
1 of 3