

Plan on 30-60 lbs of usable venison from a mature whitetail buck.
There is an undeniable sense of satisfaction that comes from doing something yourself. Other than spending time outdoors with family and friends, the second-best part of any successful hunt is bringing home dinner from the woods.
From choosing the best tree stand location for the day using HuntWise to preparing wild game in the kitchen, every step of the process gives me a closer connection to the food I feed my family and where it comes from.
Do you know your deer anatomy? As we look ahead to deer season (with our mouths watering thinking about the meat we'll bring home), let's take a look at the different venison cuts and how to use them after a successful hunt.
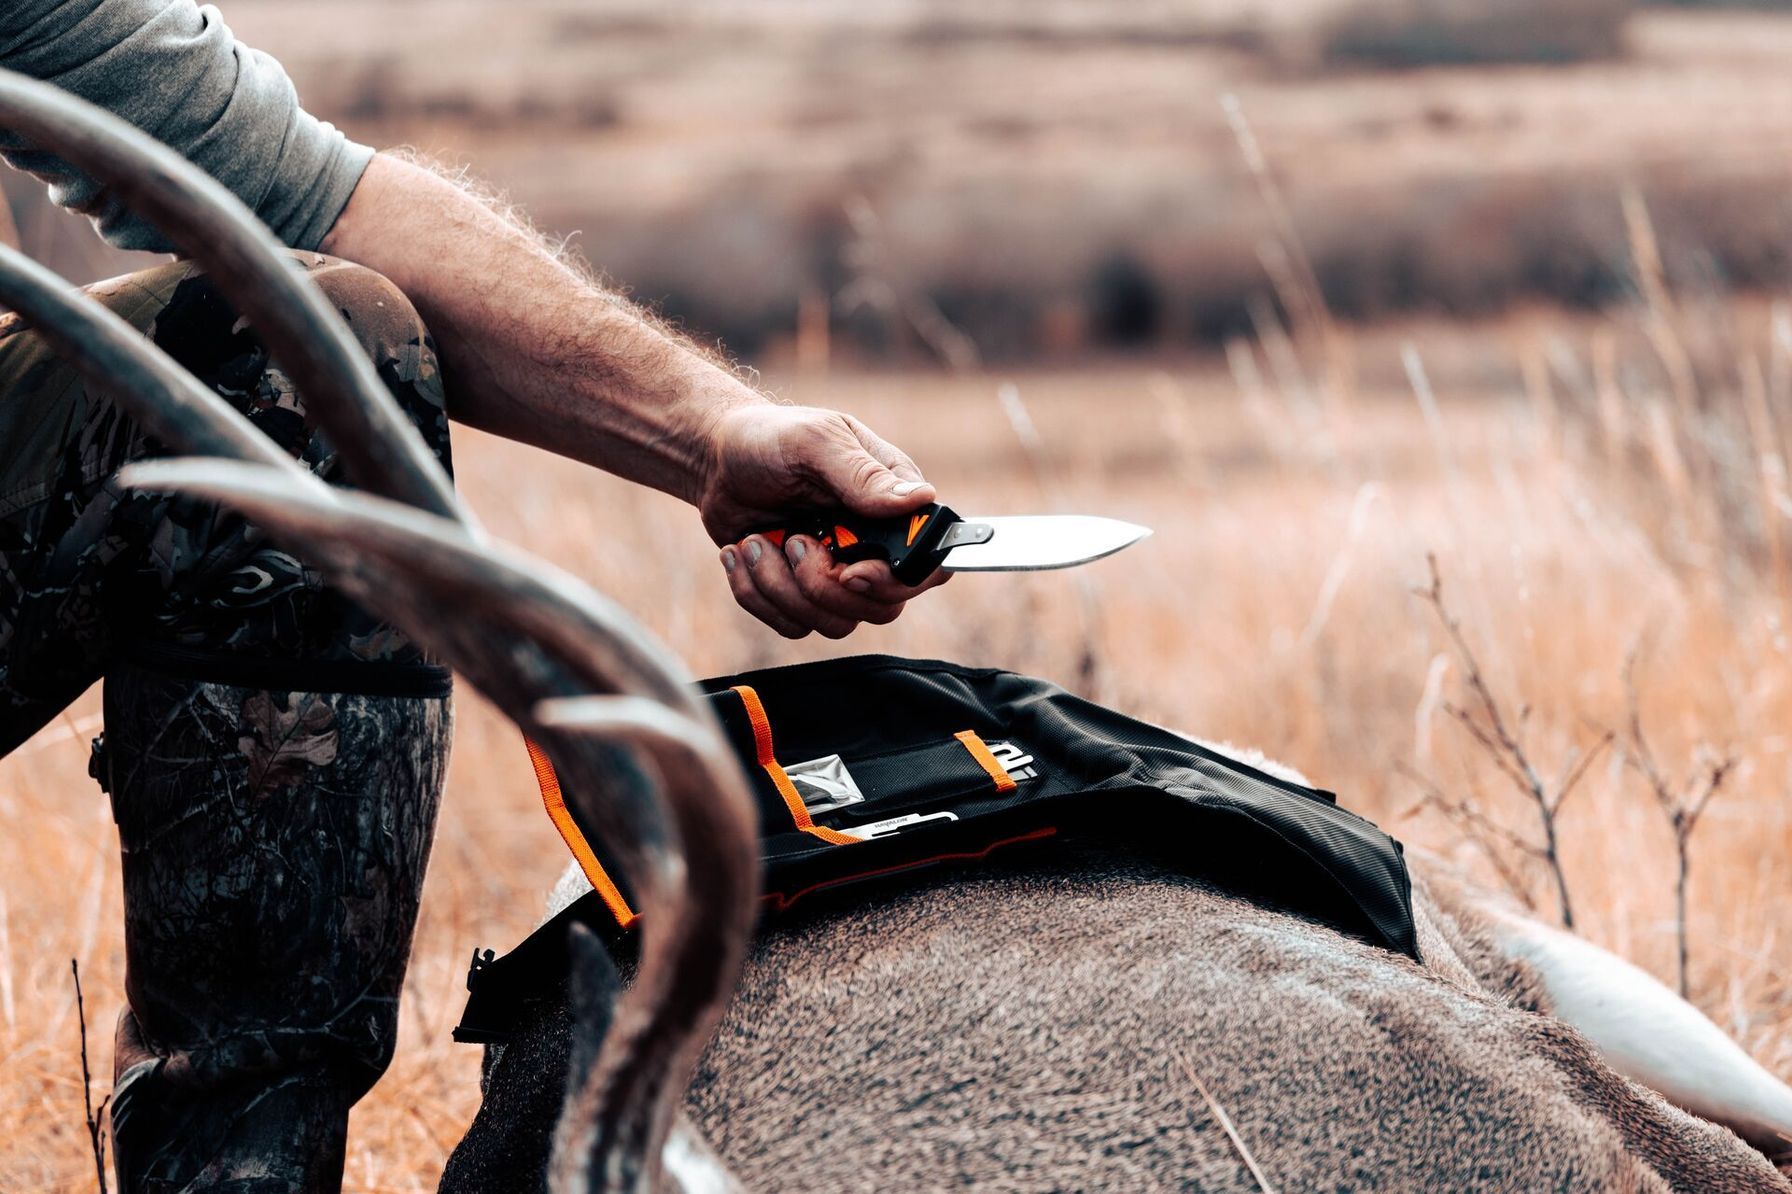
Hunters Must Be Prepared to Bring Home the Meat
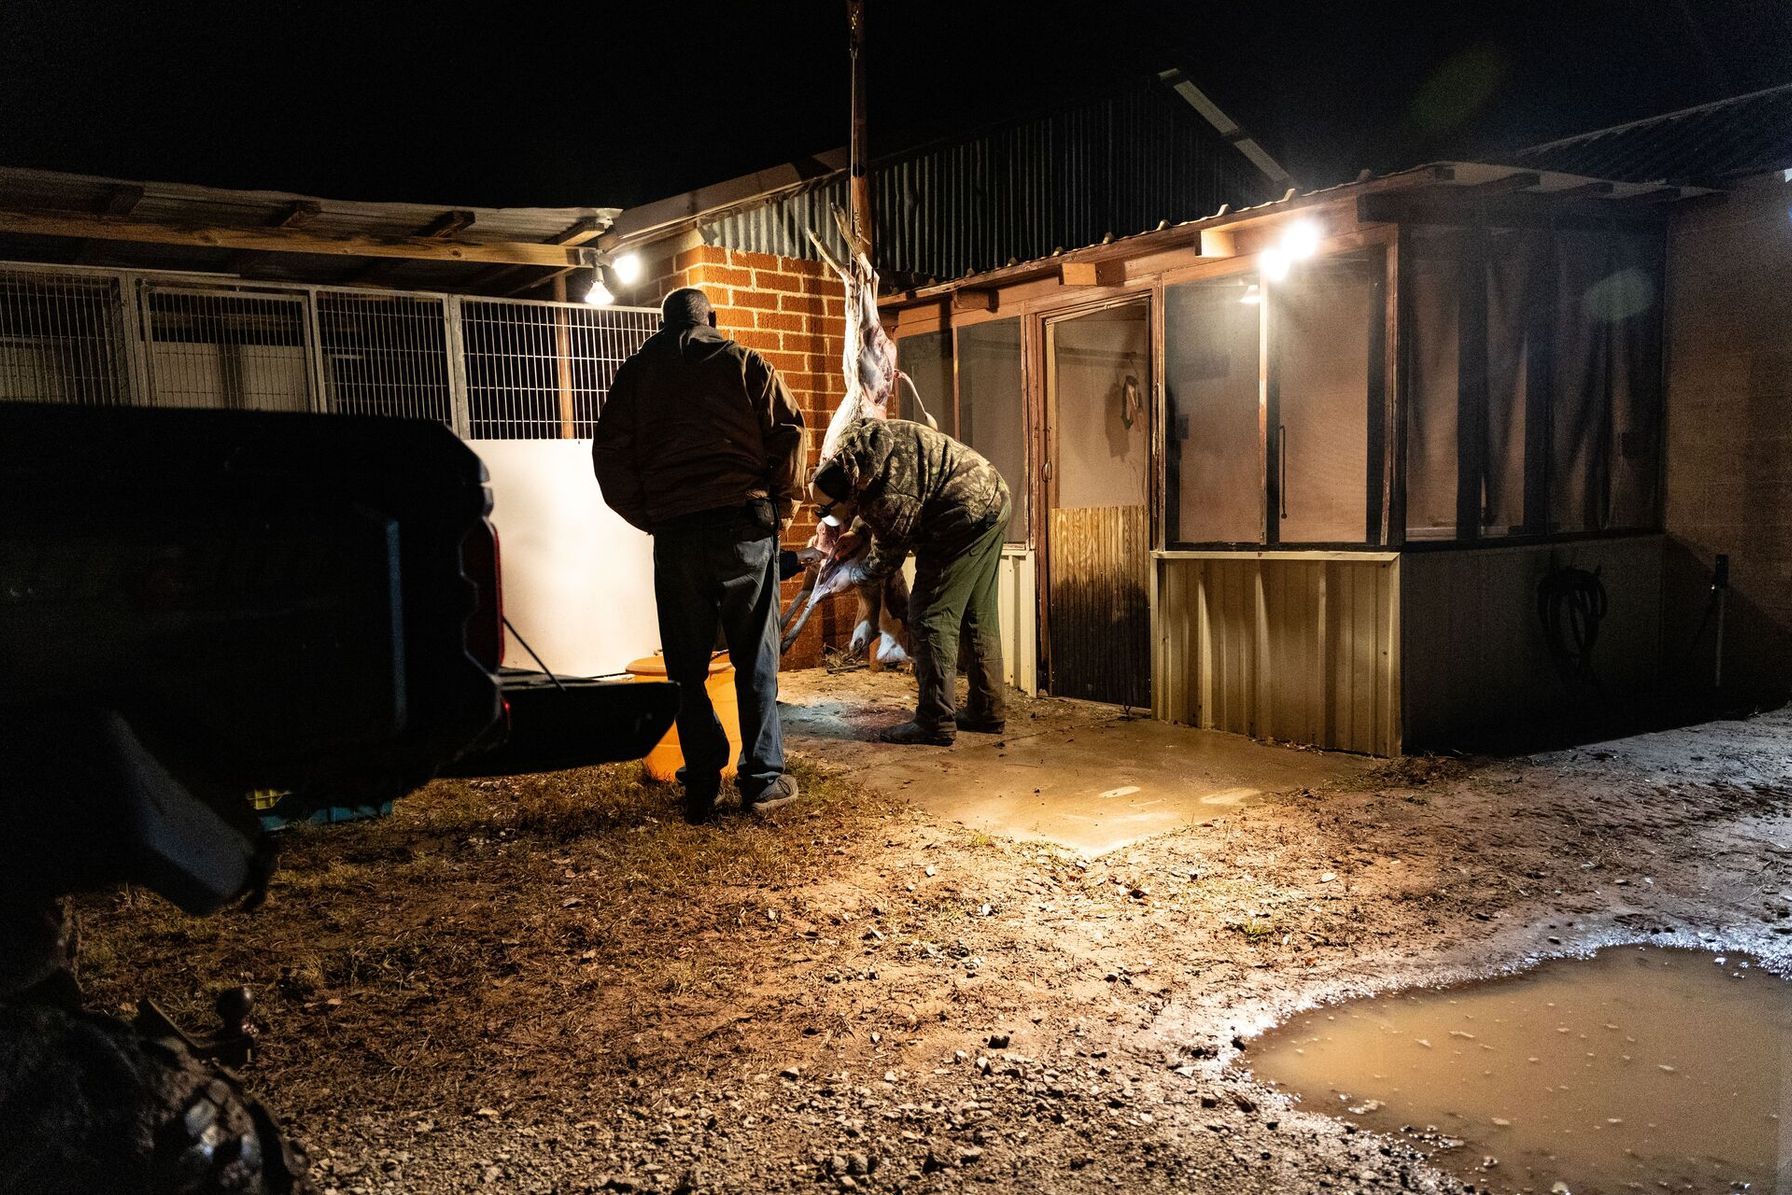
First, let's touch on a few things before we dive in. You should plan for every hunt to be a successful hunt, so it's important to be prepared to dress a deer in the field.
Meat can spoil by its own body heat faster than you would think, so cooling the animal down quickly after harvest is vital. So, it's crucial to field dress your game as soon as possible to allow the body cavity to release any trapped residual heat.
If the weather stays below 40 degrees outside (or below the temperature at which bacteria start to grow), I like to keep the deer hanging for a day or two to allow the carcass to come out of rigor mortis and loosen up a bit. If not, I get the primal cuts on ice as fast as possible to cool them down and prevent any spoilage.
If you do plan to keep the meat in an ice chest, make sure you leave a drain plug open to allow any melt water to drain. Appearance plays a large part in how appetizing a meal can be, and water-soaked meat can lose its bright red color and start to look unappealing.
To keep your hard-earned meat in its best condition in the freezer, I recommend investing in a quality vacuum sealer. These devices help prevent freezer burn and allow you to portion what you need for any size meal.
How to Process a Deer From Field to Freezer
Good venison starts the moment your deer hits the ground. Heat and bacteria work against you from that point, so every step below keeps the meat clean and gets it cold fast.
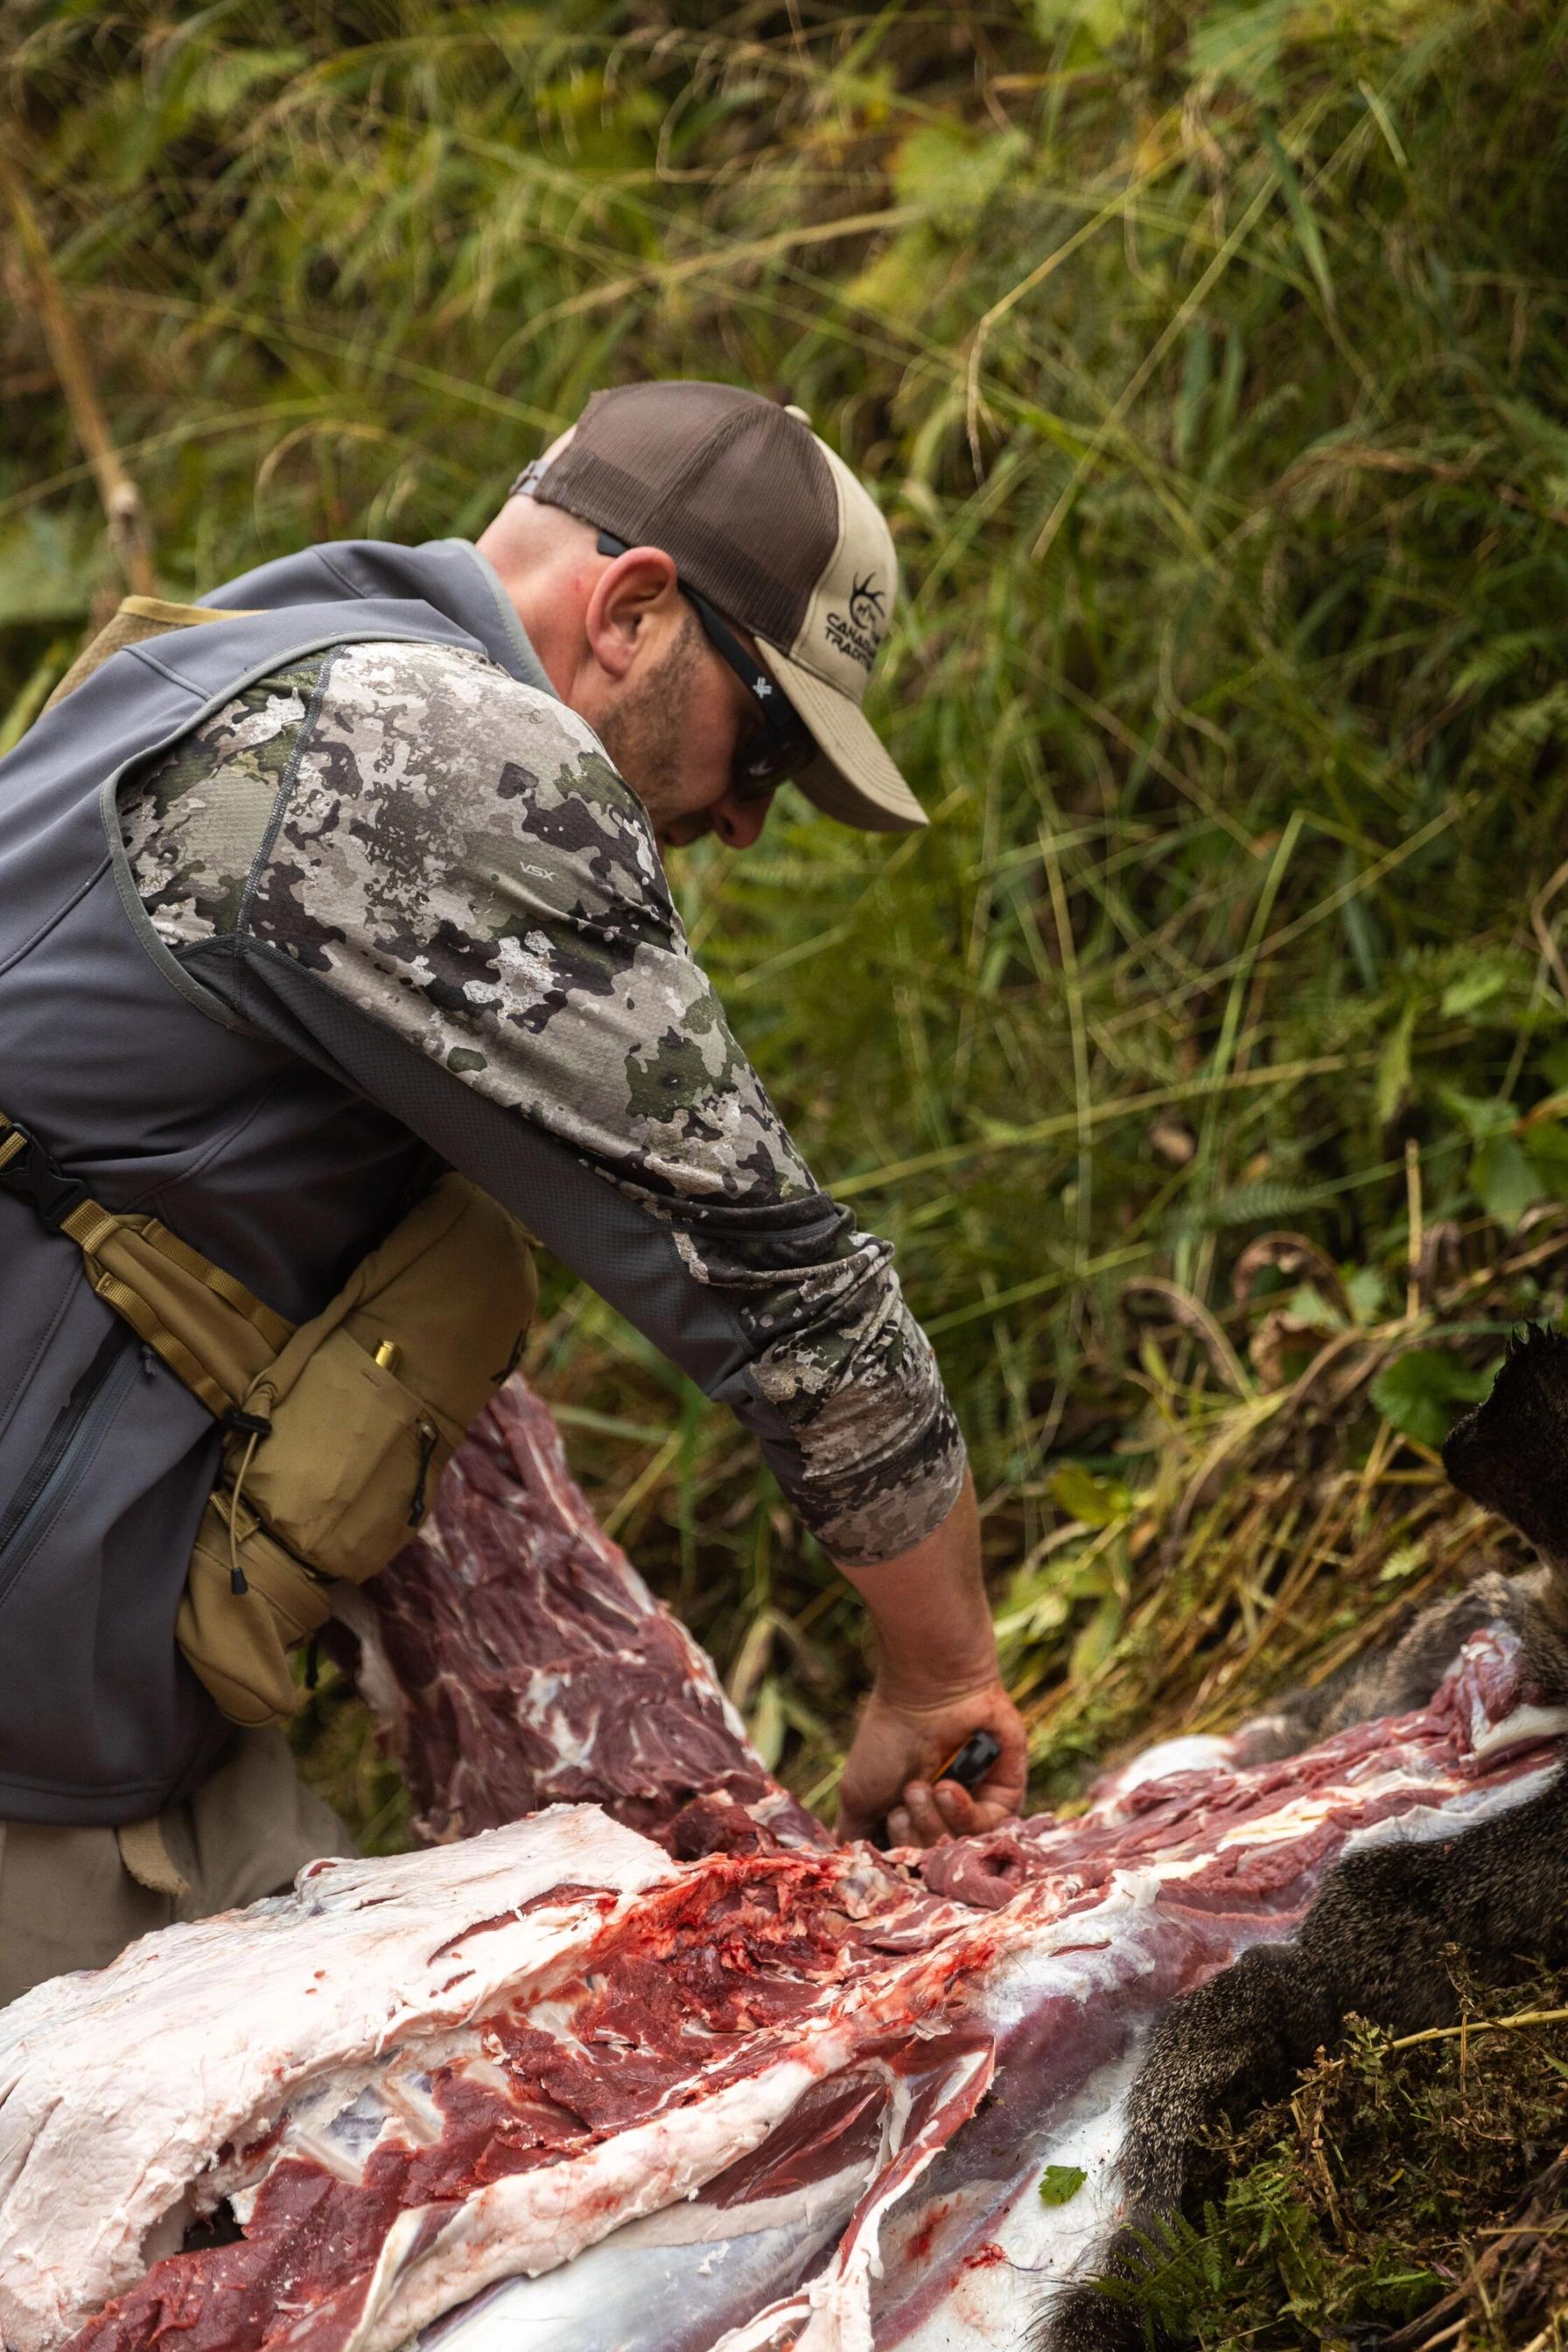
Whether this is your first deer or your 50th, here’s how we take a harvest from the field to the freezer.
- Field dress right away. Remove the entrails as soon as you reach your deer. Wear disposable gloves, keep your knife clean, and avoid cutting into the stomach, intestines, or bladder. Prop the cavity open so body heat can escape. If the organs look off, smell bad, or show unusual discharge, don’t eat the meat.
- Cool the carcass fast. Your goal is to bring the meat to 40°F or below as quickly as you can. The hide traps body heat, so skinning speeds up cooling in warm weather. If it’s above 40°F outside, get the deer into a cooler the same day. If it’s above 50°F, aim to refrigerate it within a few hours. In cold weather, you can leave the hide on to keep the meat clean and moist. Keep the carcass in the shade with good airflow, and never haul a warm deer in a closed trunk.
- Remove the tenderloins early. These small, tender muscles sit inside the body cavity along the underside of the spine. They don’t need aging, and they dry out quickly on a hanging carcass. They also sit close to the guts. Pull them early, bag them, and keep them on ice.
- Break down the carcass. Remove the two front shoulders and the two hindquarters. These are your four quarters. Cut the backstraps off separately, since they run along both sides of the spine. Then trim the neck, rib, and flank meat. If you hunt where chronic wasting disease (CWD) is present, bone out the meat and avoid cutting through the spine or brain.
- Age the meat if conditions allow. Aging is optional. If you do it, hold the carcass or quarters at 34°-37°F with good airflow for about a week to two weeks. Skip aging if you can’t hold that temperature, if the deer didn’t chill quickly, or if the meat is headed for the grinder. A skinned carcass dries out as it ages, so expect to trim the outer layer.
- Cut, wrap, and freeze. Separate each quarter along its natural muscle seams. Trim away silver skin, bloodshot meat, fat, and hair. Cut steaks and roasts from the hindquarters, and save the shoulders, shanks, and neck for roasts or slow cooking. Turn tougher pieces and trim into stew meat or grind. Package meal-size portions, label and date each one, and freeze at 0°F or below.
Every step comes back to one idea: keep it clean and keep it cold.
Learn more about how to field dress a deer with this video from HuntWise and Quinn Badder.
Deer Anatomy: Venison Meat Cuts 101
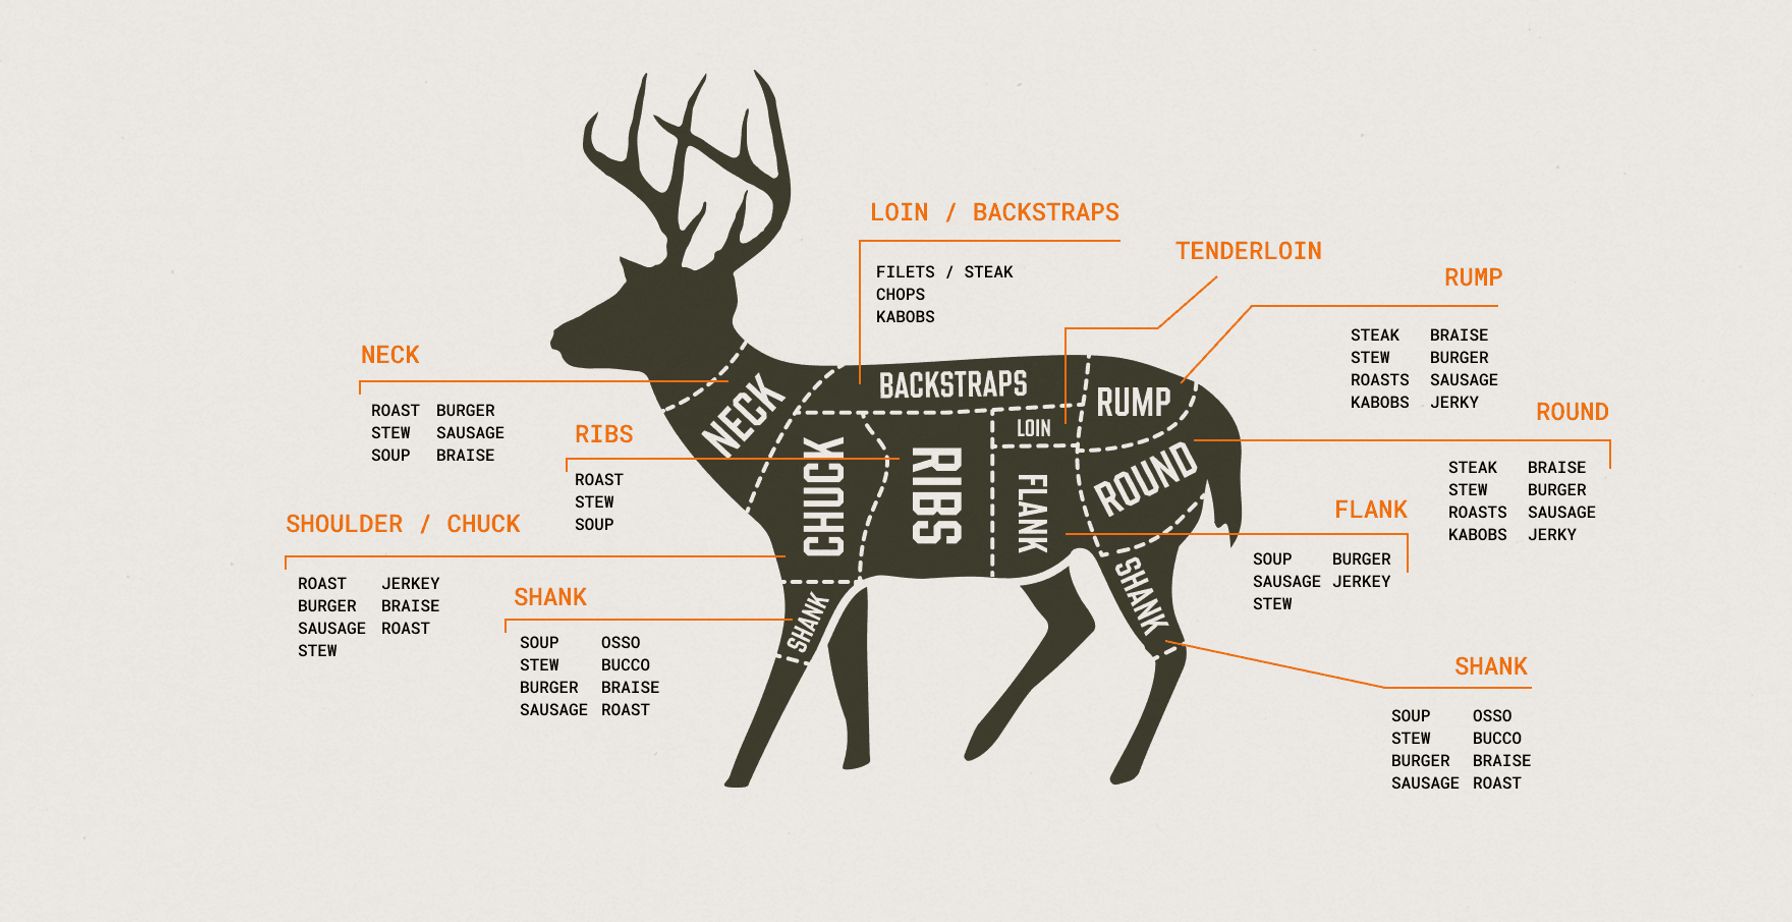
I'm getting hungry just thinking about venison! Let's walk through the different meet cuts for that big buck you'll bring home this season.
Tenderloin
This little muscle, the filet mignon of a deer, is typically the first cut to be removed. It is exceptionally tender and needs a minimalist approach to preserve its delicate flavor and texture.
Cook with just a sprinkle of salt and pepper and a quick, hot sear. That's it.
Backstrap
The backstrap is the most popular part of the deer, and for good reason. It is flavorful and tender and, in my opinion, also shines best when cooked hot and fast.
Just be careful not to overcook. I like to leave this cut in large pieces and cook to an internal temperature of 125 degrees in a cast iron skillet or over direct flame on the grill, then let it rest for 10 minutes.
The meat will continue to cook as it rests and should peak at a perfect medium rare at 130. Slicing it into medallions with a pan sauce of its own drippings makes for a great presentation.
Flank
This cut is from the belly of the deer and can be tough thanks to a large piece of sinew running from the top to the bottom. It is best used for sausage or ground meat, or if marinated, it can be made into a flank steak.
Shoulder
It can take a lot of work to remove all the silver skin required to cut these smaller muscles into steaks. I find these are best smoked or roasted whole on the bone or cut for sausage, burgers, or chili meat.
Hindquarter
This large primal cut offers a lot of options as these are also the largest muscles on the animal.
Using a filet knife, separate the major muscle groups from each other and remove as much silver skin as possible. These can then be sliced into individual steaks, cubed for shish kebabs, or thinly sliced for Asian stir fry or jerky as your next hunting snack.
Shanks
The shank is an underrated cut that works best when braised low and slow in a flavorful liquid.
My preferred use for this cut is to make Osso Bucco using a bone saw or a reciprocating saw with a clean demolition blade to cut the shanks into 2.5- or 3-inch sections. I serve them atop cheesy grits or risotto.
The Neck
Most people will try to cut as much meat off the bone as possible and make stew meat or grind it for sausage, as this cut is awkward and has a lot of connective tissue.
Not me.
This has become one of my favorite and easiest cuts to work with. Leave everything on the bone and put the entire neck in a slow cooker with carrots, onions, and a little red wine or beef stock. The long cooking time allows the collagen to break down and create a velvety pot roast that will rival anything at a restaurant and is sure to become your new favorite meal from your game.
Ribs
Don't leave these to the coyotes and crows!
Ribs can take up a lot of freezer space and can be awkward to package due to their shape, so I like to smoke these while cutting up the rest of the primal cuts into smaller and more usable portions and bagging them for the freezer.
Deer ribs will dry out faster than pork or beef ribs, so I use a water bath in the smoker to keep them moist while they cook and occasionally spritz with apple cider vinegar.
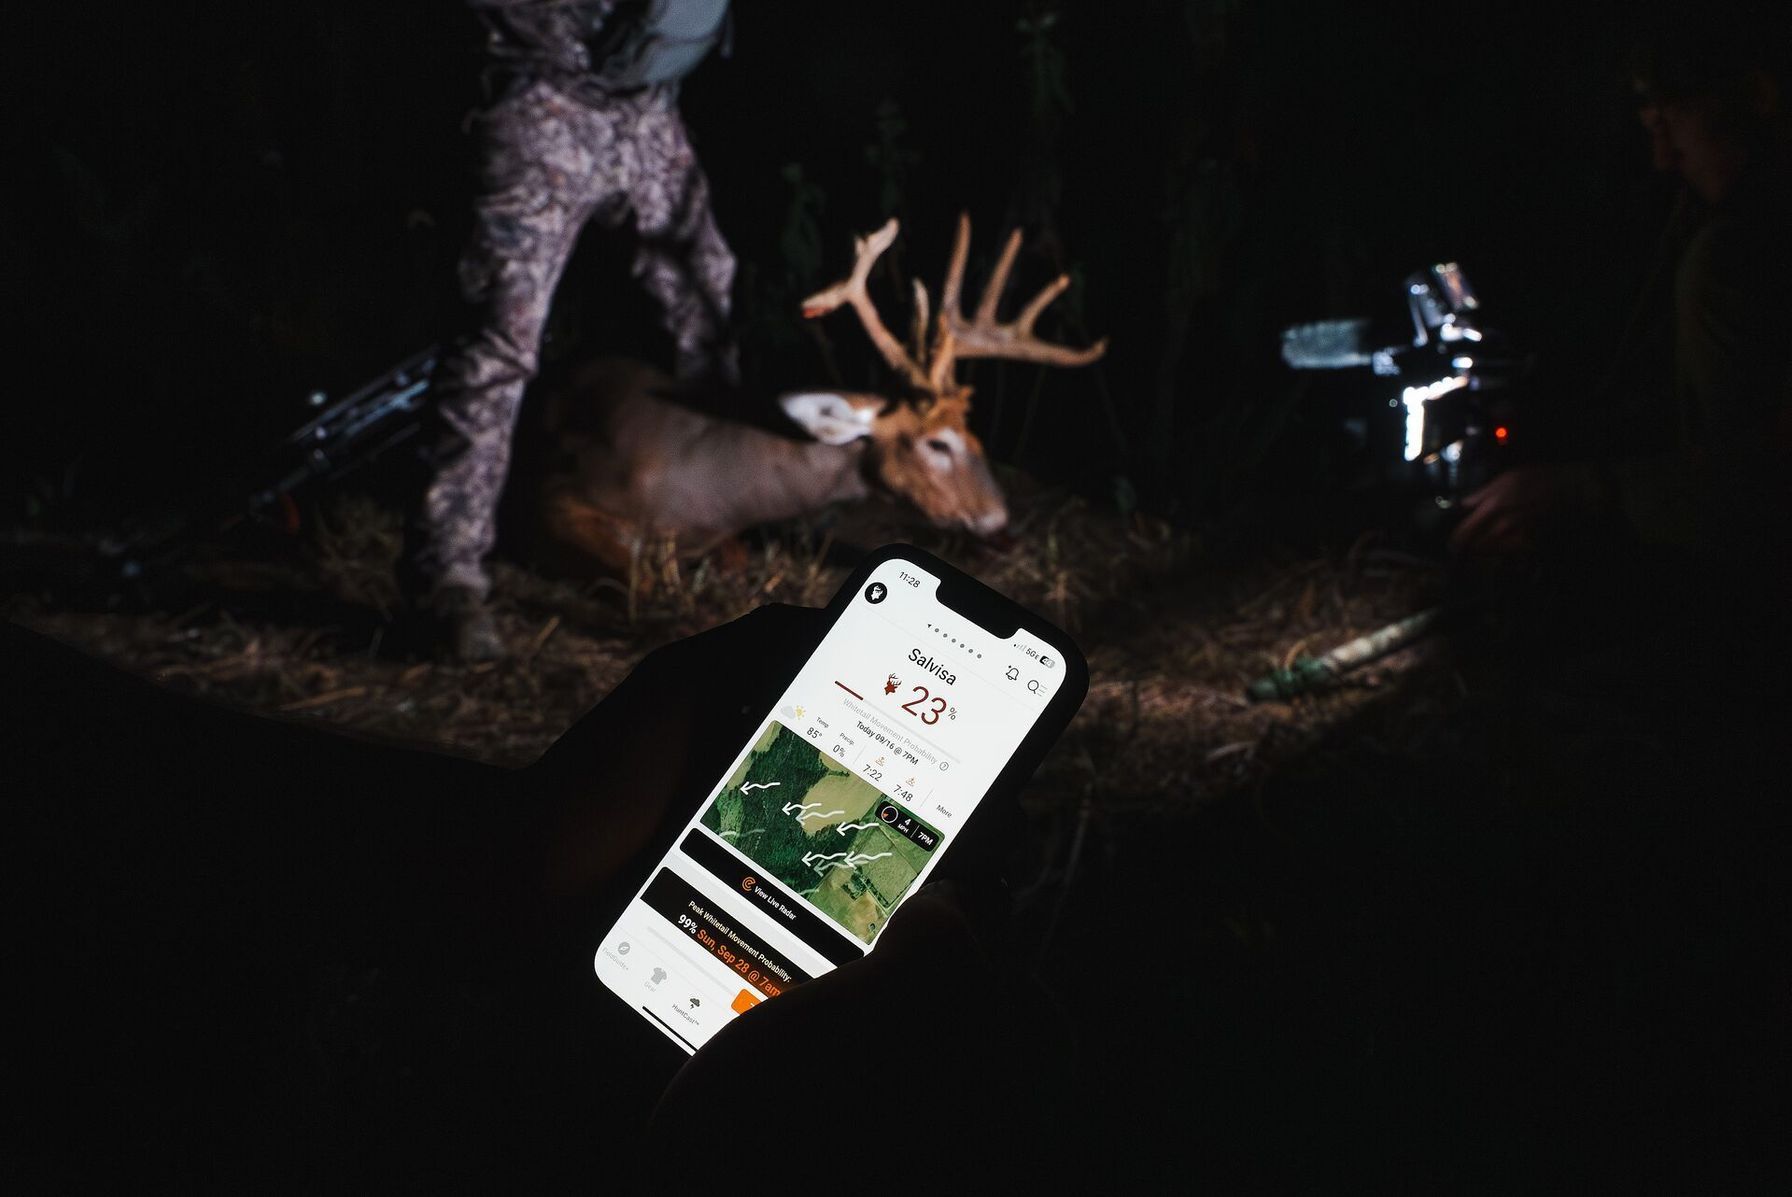
Use HuntWise to Bring Home the Venison This Season
We work hard for our harvests. With the planning, preseason scouting, and work after the kill, it's only right to use as much of the animal as possible.
With a bit of patience and practice, you'll be using your game meat and knife skills to fuel your next adventure.
How can HuntWise help? It's the ultimate hunting tool before your hunt and when in the field.
Optimizing your time in the field means you spend less time "finding" that big buck, giving you more time to butcher and enjoy it after tagging out. With multiple map layers (650, in fact), ideal wind settings, markers, real-time animal and weather predictions, and more features, you will see more success (and more venison) this season.
If you don't have the app, you don't know what you've been missing! Download HuntWise today and enjoy Pro and Elite features (free) for a week.
Frequently Asked Questions (FAQs)
Q: How much meat do you get from a deer?
A: It depends on the deer’s size and how closely you trim, but a whitetail typically yields about 35%-50% of its field-dressed weight in boneless meat. A 130-pound field-dressed deer produces roughly 45-65 pounds. Bone-in cuts, heavy trimming, and shot damage all lower the final number.
Q: What’s the best cut of venison?
A: The answer depends on how you plan to cook it. The tenderloins and backstraps are the most tender cuts, so they suit quick, high-heat cooking like searing or grilling. Hindquarter cuts work well for steaks, roasts, and jerky, while shoulder and neck meat suit slow cooking, stew, and grinding.
Q: Where are the tenderloins on a deer?
A: The tenderloins sit inside the body cavity, along the underside of the spine just forward of the hips. You can reach them once the deer is field dressed. They’re a pair of small, narrow muscles, so they’re easy to miss if you don’t know where to look.
Q: How do you process a deer at home?
A: To process a deer at home, start by field dressing the deer and cooling the meat to 40°F or below as quickly as you can. Next, remove the tenderloins, take off the four quarters and the backstraps, and trim the neck and rib meat. Age the meat if you can hold it at 34°-37°F, then cut it into steaks, roasts, stew meat, and grind, and freeze it in labeled, meal-size packages.
Q: What’s the difference between backstraps and tenderloins?
A: Backstraps run along the outside of the spine, on both sides of the back, and you remove them after skinning. Tenderloins sit inside the body cavity under the spine and are much smaller. Both are tender cuts, but backstraps are longer and larger, so they yield more meat.
Q: Can I age venison like beef?
A: Yes, but with limits. Venison is much leaner than beef and has little fat cover to protect it, so it dries out faster during aging. Keep the meat at 34°-37°F with good airflow, and skip aging if you can’t hold that temperature or the meat is headed for the grinder.
Q: How much hanging time does a deer need?
A: Most guidance falls between about a week and two weeks at 34°-37°F, though the range varies by source. Hanging time depends on the deer’s age, how quickly it chilled, and whether you can hold a steady temperature. If you can’t keep the meat at 40°F or below, don’t hang it at all.


