What Are the Advantages Of Canning Your Venison?
Canning your own venison provides your venison with a very long shelf life.
Most canning experts say that canned venison is good for up to two years. Some even say it can be stored this way for four years. However, two is still plenty.
Canning venison also frees up space in the freezer, allowing you to save money on purchasing another freezer or have more room for your other game or even fruits and vegetables from the garden.
Another advantage of canning venison is that you don't have to wait hours for it to defrost or spend time putting it in the microwave, worrying that it might start to cook.
Canned venison tastes fresh and juicy every time, eliminating the "game" flavor and leaving you satisfied.
How to Can Venison
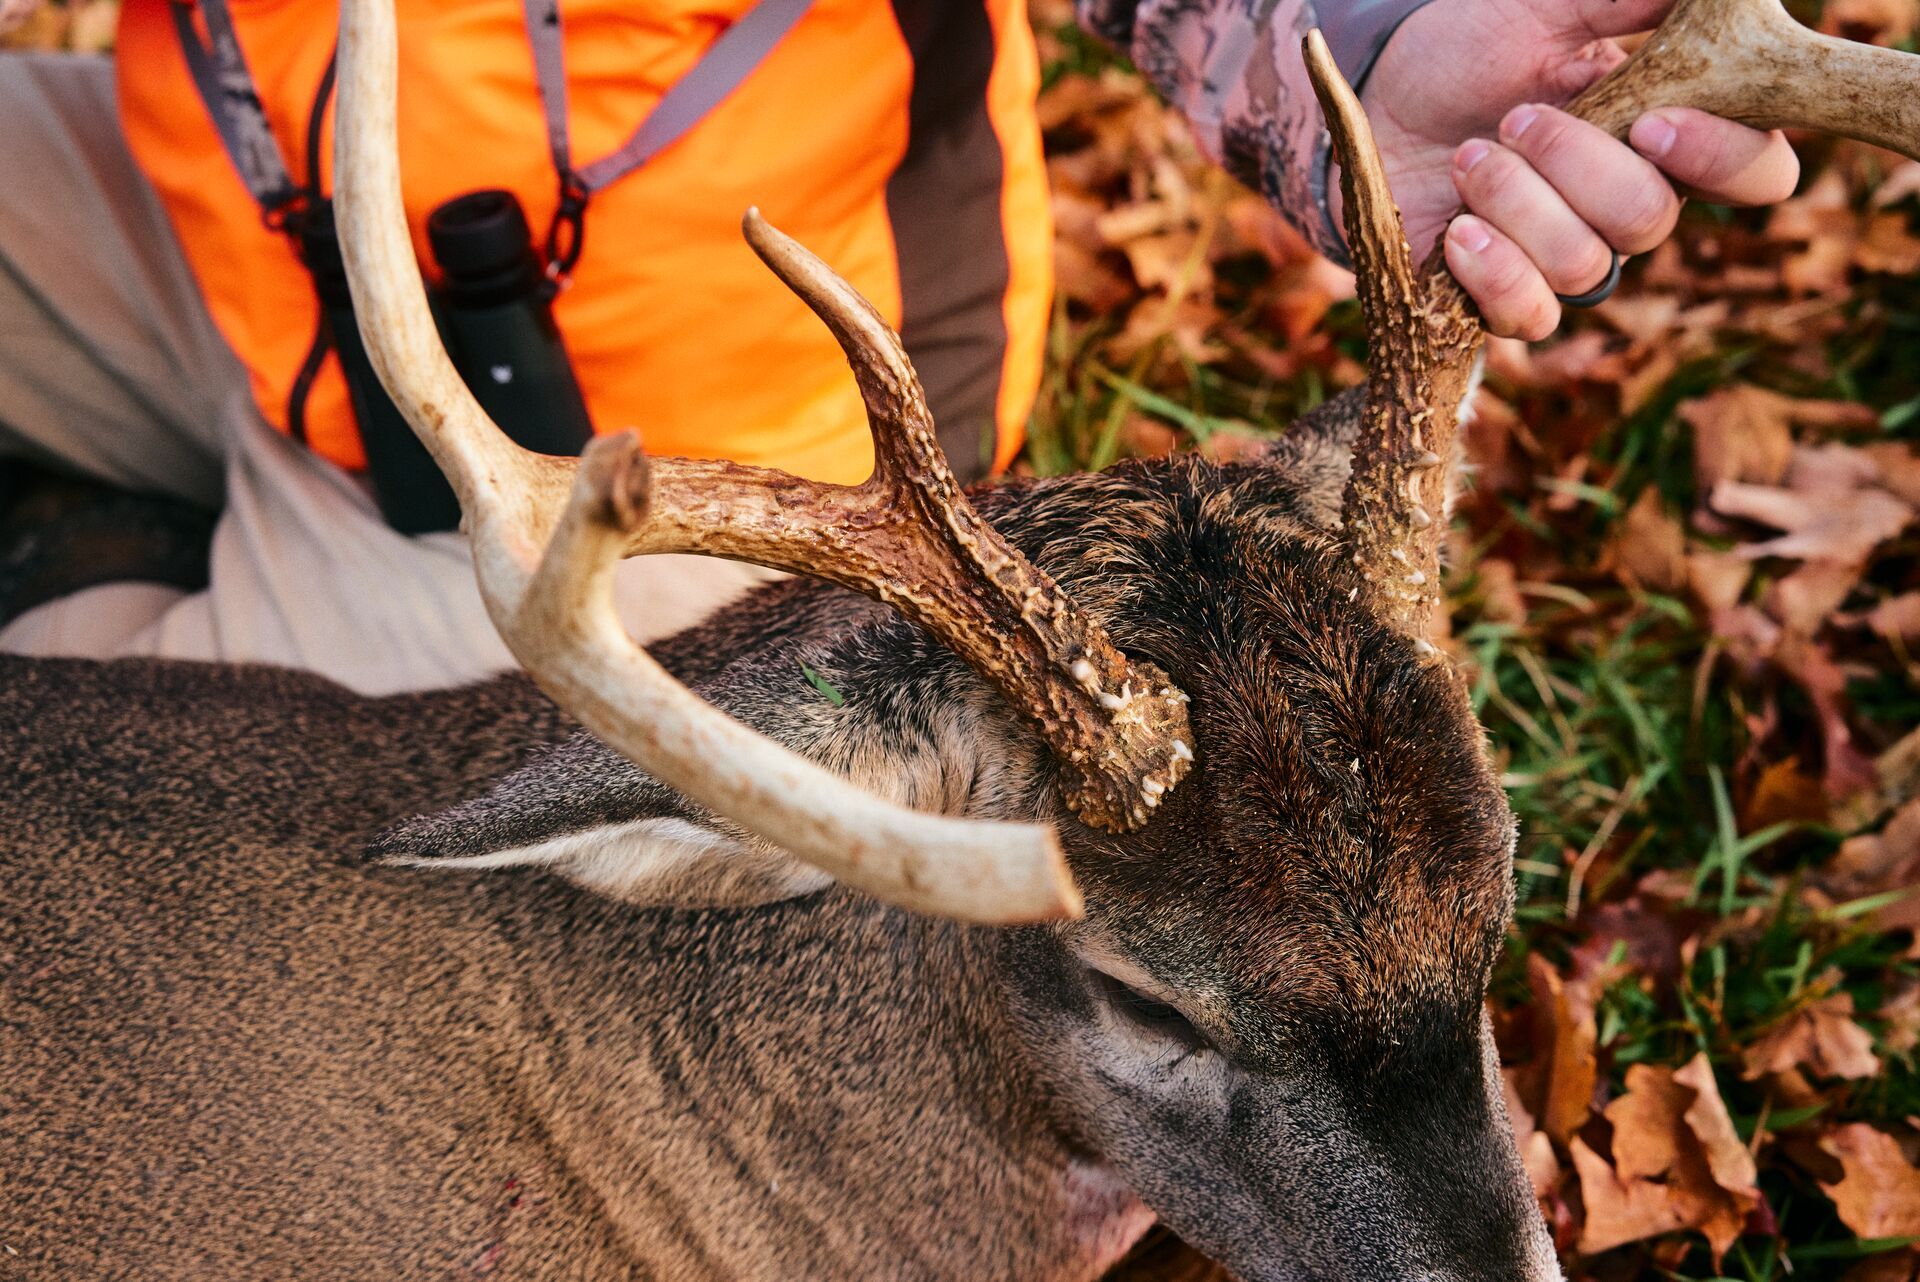
Next, after understanding why you should can your venison, it's time to gather your materials and ingredients and start the preparation. Canning venison is actually quite easy, so don't let the fear of difficulty deter you.
If you have the means, a great starting point is aging the meat after the butchering process. This will create more flavorful, tender pieces of meat.
Use cuts of meat such as backstraps, tenderloin, rump chuck, neck, and even organ meats. The liver is heavy in essential nutrients.
Materials and Ingredients Needed To Can Your Venison
First, you must use a pressure cooker to safely can meat. This helps ensure bacteria and other harmful things don't get caught in your mix.
What you will need to start canning:
- Pressure Cooker
- Canning Salt (or any other salt will work)
- Jars and Lids
- Spices and vegetables to add to your canned meat (this is optional – it just adds a little extra flavor to your meat).
You can also do a Google search to find more ingredients that would complement your canning process. Feel free to experiment and develop your perfect recipe for meat just the way you like it.
Directions for Canning
Now that you have all of your ingredients let's get cookin.'
- Trim all your meat to eliminate bruises, silver skin, and fat. Typically, you will want to square each cube into 1-inch slices.
- Now, place the cubed meat into sanitized jars. Pack it firmly to squeeze out excess air within the jars. Leave about 1 inch of room at the top of each jar.
- Add a couple of pinches of salt to each jar. We recommend adding one teaspoon of salt per quart. However, make this your own and add as much as you desire. You will figure it out the more you prepare it this way.
- Now is the time to add more than just salt, such as other seasonings or veggies, for extra flavor.
- Clean the top of the jars so there is no obstruction between the lid and the jar. Do not add any liquid.
- Follow the directions on your pressure cooker.
Generally, an hour and a half at 10 lbs of pressure is acceptable for the number of quarts you want to can. However, if you use pint jars, consider about 1 hour and 15 minutes for cooking time.
When you finish your pressure cooker, open it carefully, then dry off and store the cans in a cool, dark place. You have now made canned venison.
Canning Venison Starts with a Successful Hunt
It may not be as popular as ground venison, steaks, or roast. However, canned meat is very tasty, easy to store, and lasts a long time. Now that you know the ins and outs of canning, it is your turn to try – but you'll need some tasty venison to get started.
Help improve your chances of bringing home more meat this season by using HuntWise. With our advanced mapping features and hundreds of map layers, markers, HuntCase, WindCast, RutCast (and more), you have the ultimate hunting tool to plan your hunts, fine-tune your hunt area, and secure an advantage over other hunters before the season starts!
Whether you find you like canning or packing your freezer with this year's meat, we hope you have a successful hunting season. Download HuntWise and explore every feature – free – for your first week.
Content reviewed and updated July 18, 2024.
 Recipes
 Recipes
 Recipes
